
Overview: In this lesson, we will deploy an AI model on SageMaker using a customized image. The deployment includes creating a training job and an endpoint server for handling predictions.
Note: The main focus of this lesson is to analyze the setup and workflow. Detailed step-by-step instructions on the console will be omitted.
Prerequisite
Basic Knowledge of AI
To easily follow the steps in this lesson, you need fundamental knowledge of AI, models, how they are created, and the processes of training and prediction.
Basic Knowledge of RESTful API and Hosting Servers (Optional)
This lab involves some basic knowledge of RESTful APIs, including methods like GET and POST, as well as hosting on an endpoint server. Understanding these concepts will help you better grasp the workflow. However, the hosting setup in this lesson is pre-configured, so you won’t need to focus on it.
Docker
Docker is a software platform that enables the creation, deployment, and management of applications within containers. The Customized Image used in this lesson will be built with Docker, so having a basic understanding of Docker will help you follow the steps smoothly.
If you haven’t installed Docker yet, you can download it from the Docker homepage.
Source Code
You can download the source code used in this lesson here.
Architecture
Before diving into the detailed steps, let’s first take a look at the AWS architecture and the internal structure of the image.
AWS Architecture
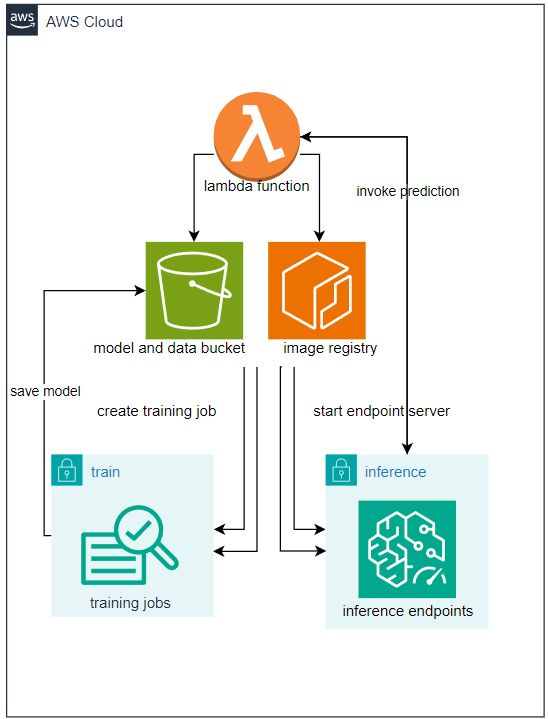
Overview of Workflow:
After creating a Docker image on your local machine, it will be pushed to ECR (Elastic Container Registry), which manages container images. Then, an S3 bucket will be created to store the model and dataset, as well as the output of the training process.
Next, a Lambda function will be responsible for creating training jobs and inference endpoints using the model stored in S3 and the image stored in ECR.
Internal Architecture of the Image
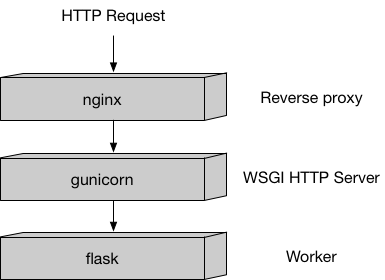
Nginx is a web server that handles incoming HTTP requests and manages container traffic.
Gunicorn is a pre-forking WSGI server that runs multiple instances of the application and distributes the load between them.
Flask is a lightweight Python web framework used to configure request handling. It responds to requests sent to
/pingand/invocationswithout requiring extensive configuration.
This is the internal architecture of a container image designed to handle prediction (inference) requests via HTTP. (For training, this setup is not required.)
It follows a typical Python-based architecture optimized for SageMaker endpoints. However, understanding the internal workings of this model is not necessary. You don’t need to install or modify it—provided code snippets will handle this automatically without requiring changes.
Detailed Architecture
Before diving into the details, let’s take a look at the code organization of this sample project:
| |
Dockerfile is the Docker file used to build the Docker image, and requirements.txt contains the necessary libraries to install. The files inside the program directory define how the container (server) operates. Among them, nginx.conf, wsgi.py, and serve are pre-built and do not require modifications. The train file defines how the model is trained, while predictor.py specifies how the model makes predictions (handling HTTP responses).
Dockerfile Analysis
| |
FROM python:3.11.9-slim: This is a pre-built image that includes Python. We pull it as a base to build our own customized image.- The
slimversion is a lightweight variant, meaning it doesn’t include common services, making it highly optimized for our use case.
- The
RUN apt-get -y update && apt-get install -y --no-install-recommends nginx ca-certificates && rm -rf /var/lib/apt/lists/RUN apt-get -y update: Downloads the latest package lists.apt-get install -y --no-install-recommends nginx ca-certificates:- nginx: Installs the web server.
- ca-certificates: Installs the CA certificate bundle for SSL/TLS authentication.
--no-install-recommends: Installs only the essential dependencies, reducing image size.
rm -rf /var/lib/apt/lists/*: Removes cached package lists after installation to save space.
COPY requirements.txt /opt/program/requirements.txt: Copiesrequirements.txtto/opt/program/, listing all required Python dependencies.WORKDIR /opt/program/: Sets the working directory inside the container. Equivalent to runningcd /opt/program.RUN pip install --upgrade pip && pip install --no-cache-dir -r requirements.txt- Upgrades
pipto the latest version. - Installs dependencies listed in
requirements.txt. The--no-cache-dirflag prevents caching, reducing image size.
- Upgrades
Environment Variables
ENV PYTHONUNBUFFERED=TRUE: Outputs logs immediately instead of buffering them.ENV PYTHONDONTWRITEBYTECODE=TRUE: Prevents Python from generating.pycbytecode files, reducing container size.ENV PATH="/opt/program:${PATH}": Adds/opt/programto thePATHenvironment variable for easier access to scripts.
COPY program /opt/program: Copies the entireprogramdirectory into/opt/programinside the image. This directory contains the code and configuration files needed for the container’s functionality.
With this setup, we now understand how our Docker image is structured. Next, we will explore the installed dependencies and their significance.
Analysis of requirements.txt
As we know, this file lists the necessary dependencies for the project. Specifically:
| |
requests, flask, gunicorn: These libraries are used for hosting and configuring HTTP API communication.- They are essential for handling incoming and outgoing requests correctly.
numpy, scipy, scikit-learn, joblib, pandas: These are machine learning libraries used for model creation, training, and inference.- The specific libraries needed depend on the chosen model and algorithm.
- For example, in this case, they are used to support Scikit-Learn’s Decision Tree Classifier.
- This part should be customized based on your specific needs.
With this, we have completed building the image and installing all necessary dependencies. Next, let’s explore the structure and configuration of this image.
Analysis of nginx.conf, wsgi.py, and serve
These files are pre-configured to handle server operations and do not affect the training or prediction process.
It is recommended not to modify these files.
Train Analysis
File structure defined by Sagemaker
| |
Let’s analyze each section of the train file
| |
Let’s understand the path variables defined here (we will analyze how they are used later)
prefix = '/opt/ml': Defines the prefix path. For Sagemaker algorithms, this is the designated directory that contains the files Sagemaker provides when initializing the train process (not user-defined). Specifically:input_path = os.path.join(prefix, 'input/data'): Path to theinputdirectories provided viachannels.output_path = os.path.join(prefix, 'output'): Location for storing training output. After training, Sagemaker compresses this folder intooutput.tar.gzand uploads it to S3 as the output of the training job. If you want specific output, save it here (usually logs), or in this lab,failure.log.model_path = os.path.join(prefix, 'model'): Location for saving themodelafter training. If you want to persist the trainedmodel, save the relevant files here. Sagemaker automatically packages the entire directory into a.tar.gzfile and uploads it to S3 as the output of the training job.param_path = os.path.join(prefix, 'input/config/hyperparameters.json'): Location of hyperparameters for training. The definition of these parameters will be discussed later.dataset_channel_name='dataset': During training, we primarily focus on model and data. This directory contains the dataset, and we will analyze how it is provided later.model_channel_name='model': Similarly, this is where themodel(if needed) is stored for continuing training from a previously saved state.
| |
This function simply lists the file structure from a given path. While not necessary for actual training, it is useful for testing and debugging.
| |
As mentioned earlier, if training starts from a pre-existing model, it must be provided at model_training_path, usually as model.tar.gz. Since model.tar.gz is Sagemaker’s standard training output format, it makes sense to handle model using this format. This function extracts the file.
extract_tar_gz(model_training_path + '/model.tar.gz', extract_path=model_training_path): Extractsmodel.tar.gzinmodel_training_pathand stores it in the same directory.list_files_recursive('/opt'): Lists files from/opt(useful for debugging).
| |
Reads the file containing training parameters and stores it in trainingParams (if available).
input_files = [ os.path.join(dataset_training_path, file) for file in os.listdir(dataset_training_path) ]: Retrieves dataset files fromdataset_training_path.raw_data = [ pd.read_csv(file, header=None) for file in input_files if file.endswith(".csv")]: Reads CSV files from the previous step.max_leaf_nodes = trainingParams.get('max_leaf_nodes', None): Retrieves themax_leaf_nodesparameter (if provided).clf = load(model_training_path + '/decision-tree-model.pkl'): Loads themodelextracted in step 4 to continue training.
| |
Saves the model to model_path. Sagemaker will later compress this into model.tar.gz and upload it to an S3 bucket.
| |
If an error occurs, it is logged in output_path. Sagemaker will then compress the entire folder into output.tar.gz and store it in an S3 bucket.
Analysis of predictor.py
This file defines the reception and processing of prediction requests through an endpoint. The ScoringService class is built using a design pattern called singleton, ensuring that only one model instance is deployed throughout the endpoint’s lifecycle.
This file should be modified to suit your needs.
| |
This function loads the model if it has not been initialized and retrieves it if it has already been initialized.
Note: Unlike in train, the model loaded for prediction is automatically extracted. When provided as model.tar.gz, SageMaker will automatically extract it and place it in the model_path. In contrast, during train, model.tar.gz remains unchanged.
| |
Implements the predict function for the model.
3.app = flask.Flask(__name__): Initializes a Flask app to serve predictions.
| |
Defines a GET method at /ping to check if the container is operational.
Note: This method is essential because SageMaker continuously pings the container to check its status. If this method is missing, it will cause errors.
| |
This is the main function that defines how requests are handled. You should customize it to your needs.
Note: Do not modify @app.route("/invocations", methods=["POST"]), but you should customize the function def transformation():.
Summary: This file provides two key methods for handling predictions.
Analysis of ping_test.py and post_test.py
These two files are used for local testing to check if the image is working correctly before pushing it to ECR. They can be customized as needed.
ping_test.py
| |
This script sends a ping request to http://localhost:8080, as in the default nginx configuration, the program runs on port 8080.
post_test.py
| |
Similarly, this script performs invocation. It should be customized according to the specific project requirements.
Build Image Locally and Test
In this section, we will build the image locally, create an environment that simulates its operations when deployed on Sagemaker, and perform testing.
Prepare
To simulate the Sagemaker algorithm, we need to reconfigure the Dockerfile.
| |
Here, we have created directories and files similar to the ones that the Sagemaker algorithm will configure.
Build Image and Test
- Build Image
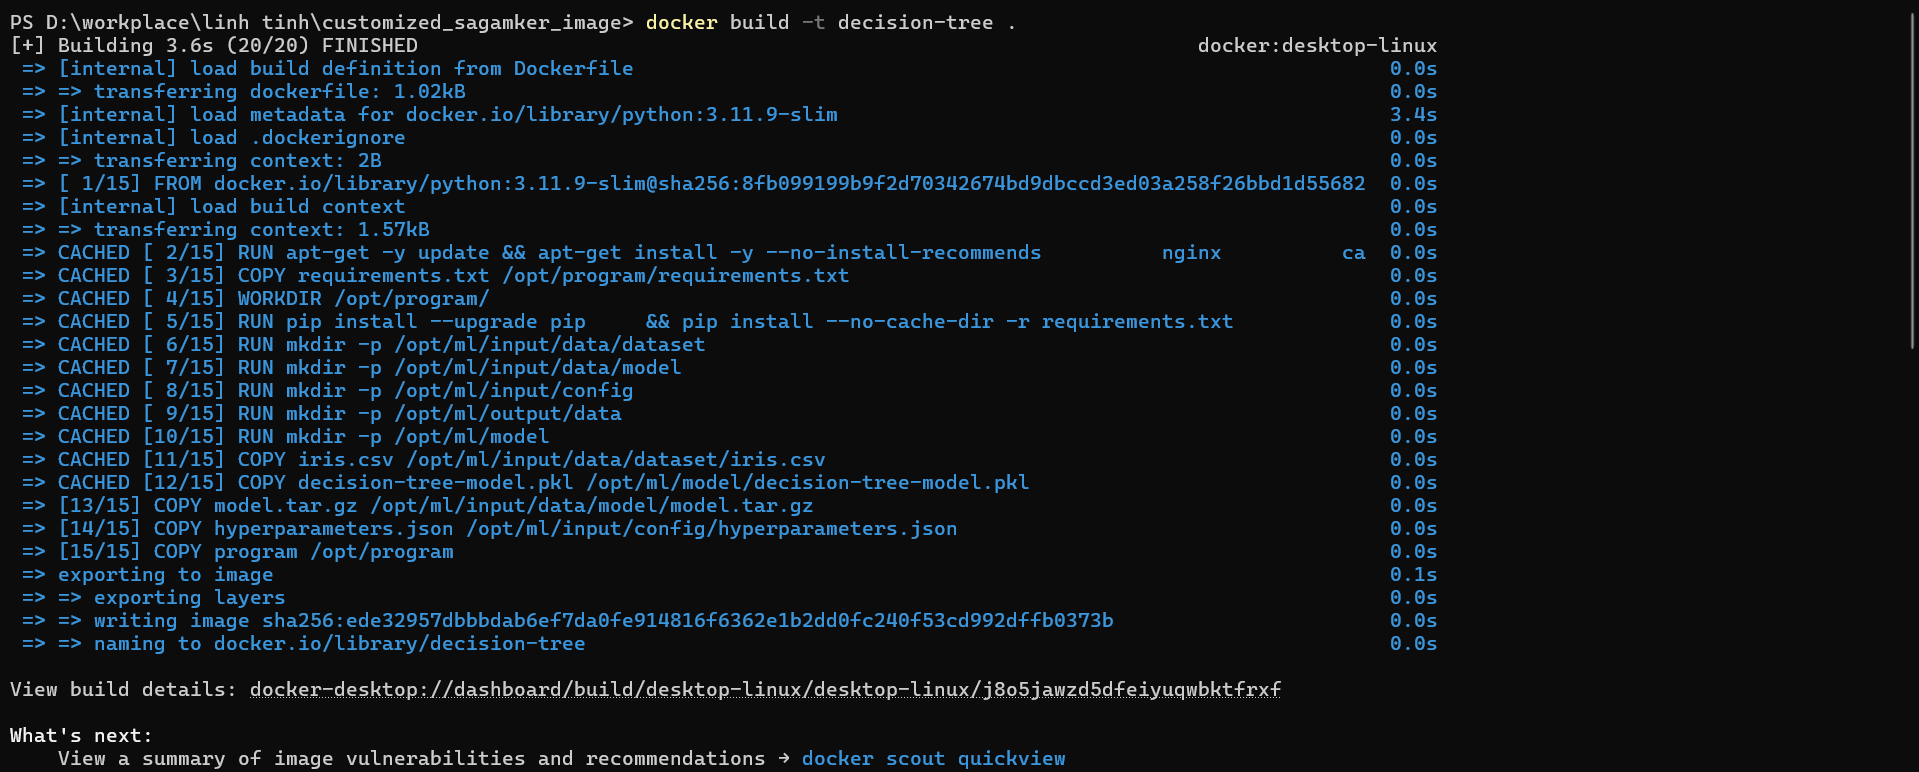
Step 1: Navigate to the source code directory.
Step 2: Run the command docker build -t decision-tree .
- List Images

Run the command: docker images to list all images. You can see that the image named decision-tree has been created.
- Run Container and Train
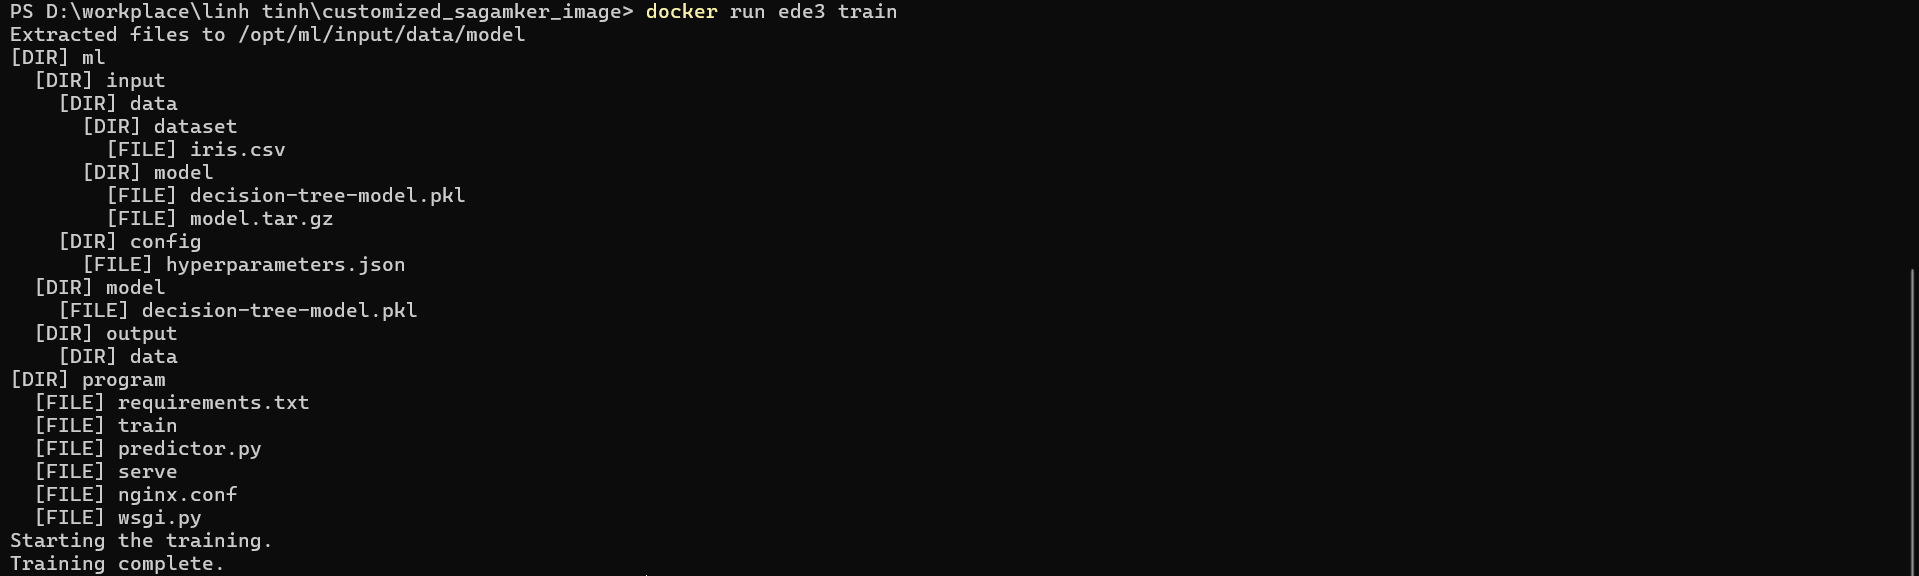
Run the command: docker run <image> train
Explanation: Since the Sagemaker algorithm by default runs the command docker run <image> train, configuring the Dockerfile with ENV PATH="/opt/program:${PATH}" is necessary to execute this command properly.
- Run Container and Serve
![]()
Run the command: docker run -d -p 8080:8080 <image> serve
Explanation: Similarly, the Sagemaker algorithm by default runs the command docker run <image> serve. However, since we need to test the ping and prediction from our local machine, we use the following options:
-d: Runs the container in the background, meaning it does not enter the container environment. This allows us to executeping_test.pyandpost_test.pyfrom our local machine.-p 8080:8080: Maps port 8080 from the container to port 8080 on our local machine. Since the program inside the container is configured to run on port 8080, this mapping allows us to easily testping_test.pyandpost_test.py.
- Test Ping and Post

Run the commands: python ./ping_test.py and python ./post_test.py. If the results are as expected, the setup is successful.
Create Resources on AWS
After testing locally, we will begin deploying it to the AWS, starting with creating the necessary resources.
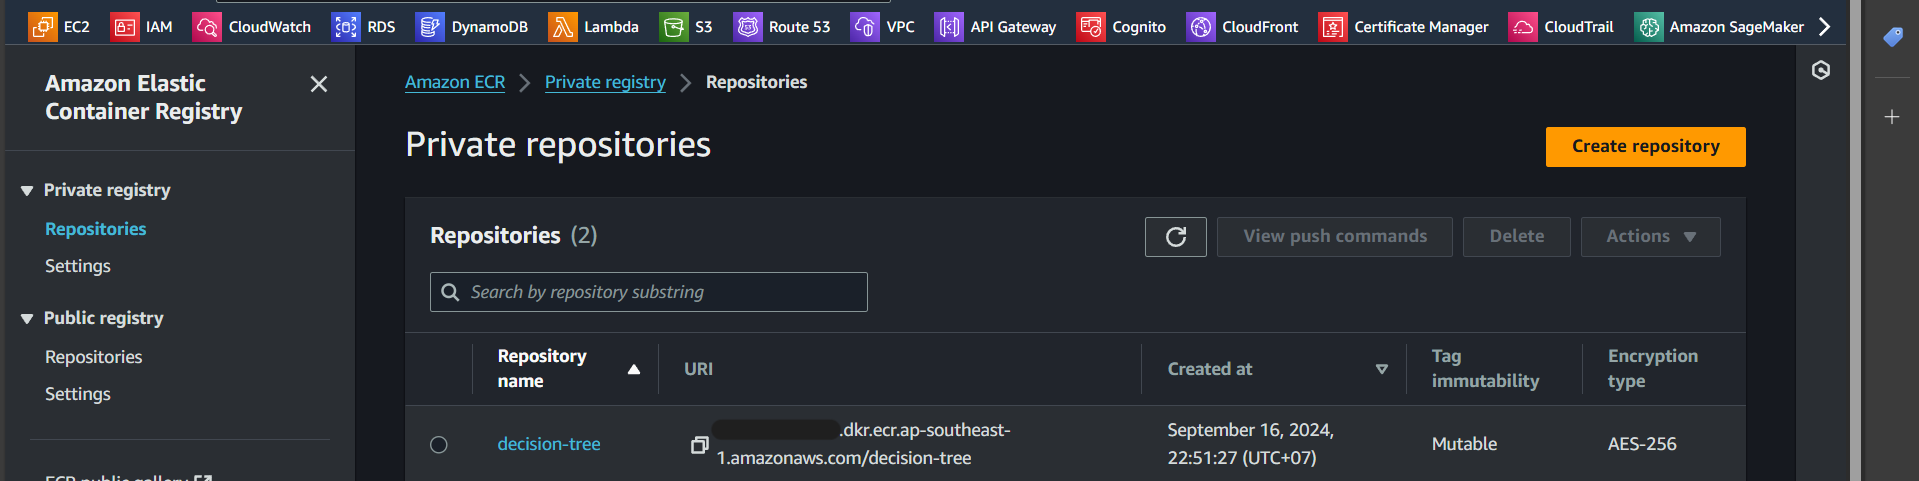
Create an ECR Repository
Before proceeding, we need to modify the Dockerfile by simply commenting out the sections within the --- --- markers.
| |
Step 1: Search for ECR

Step 2: Create a repository

Step 3: Enter the repository name

Successfully created:
Step 5: Click on “View push commands”

Step 6: Execute the steps shown in “View push commands”
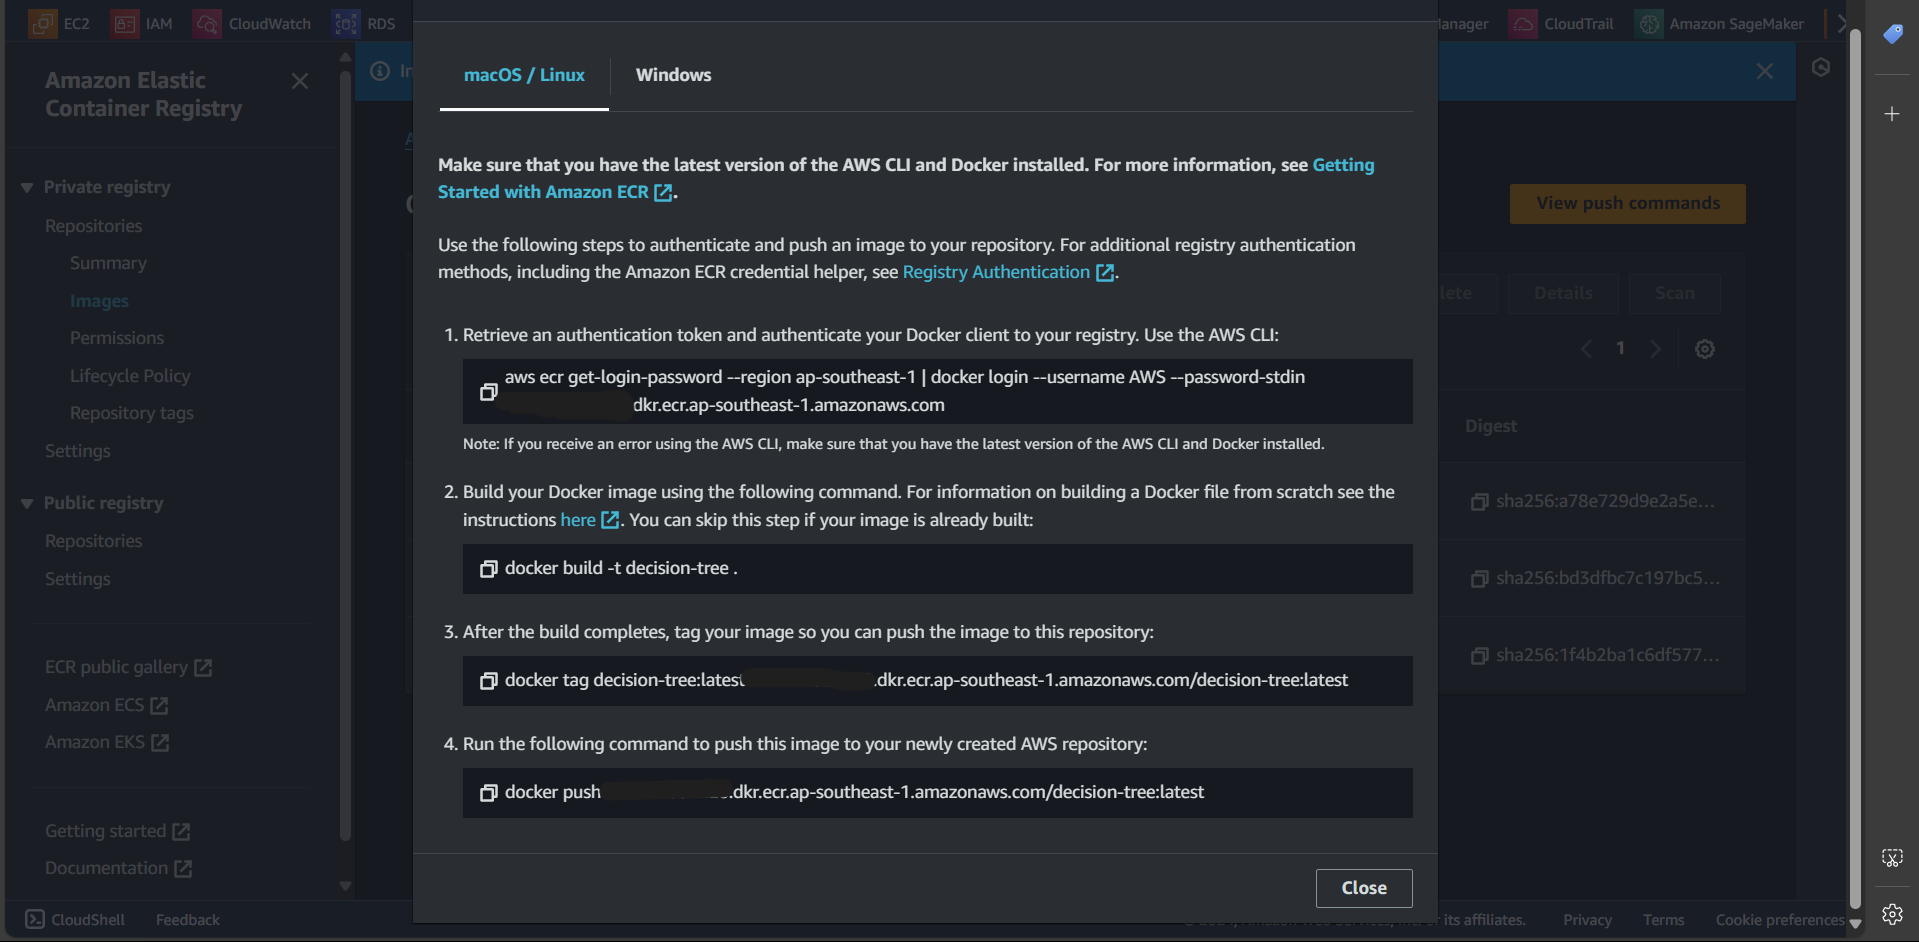
Step 7: Successfully pushed the image

Create S3 Bucket
Step 1: Search for S3

Step 2: Click “Create bucket”
Step 3: Enter the bucket name
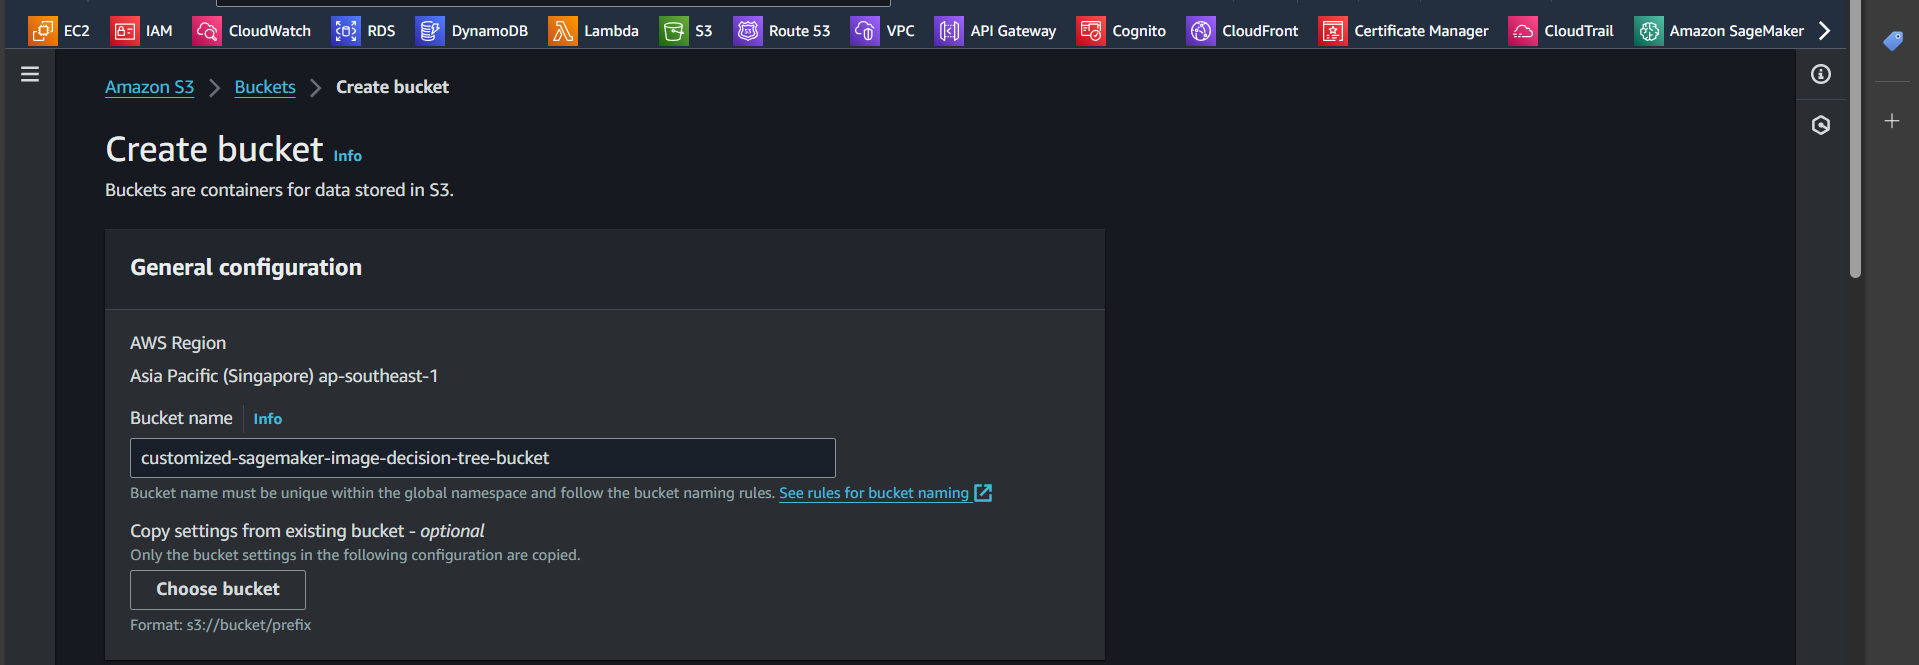
Successfully created:

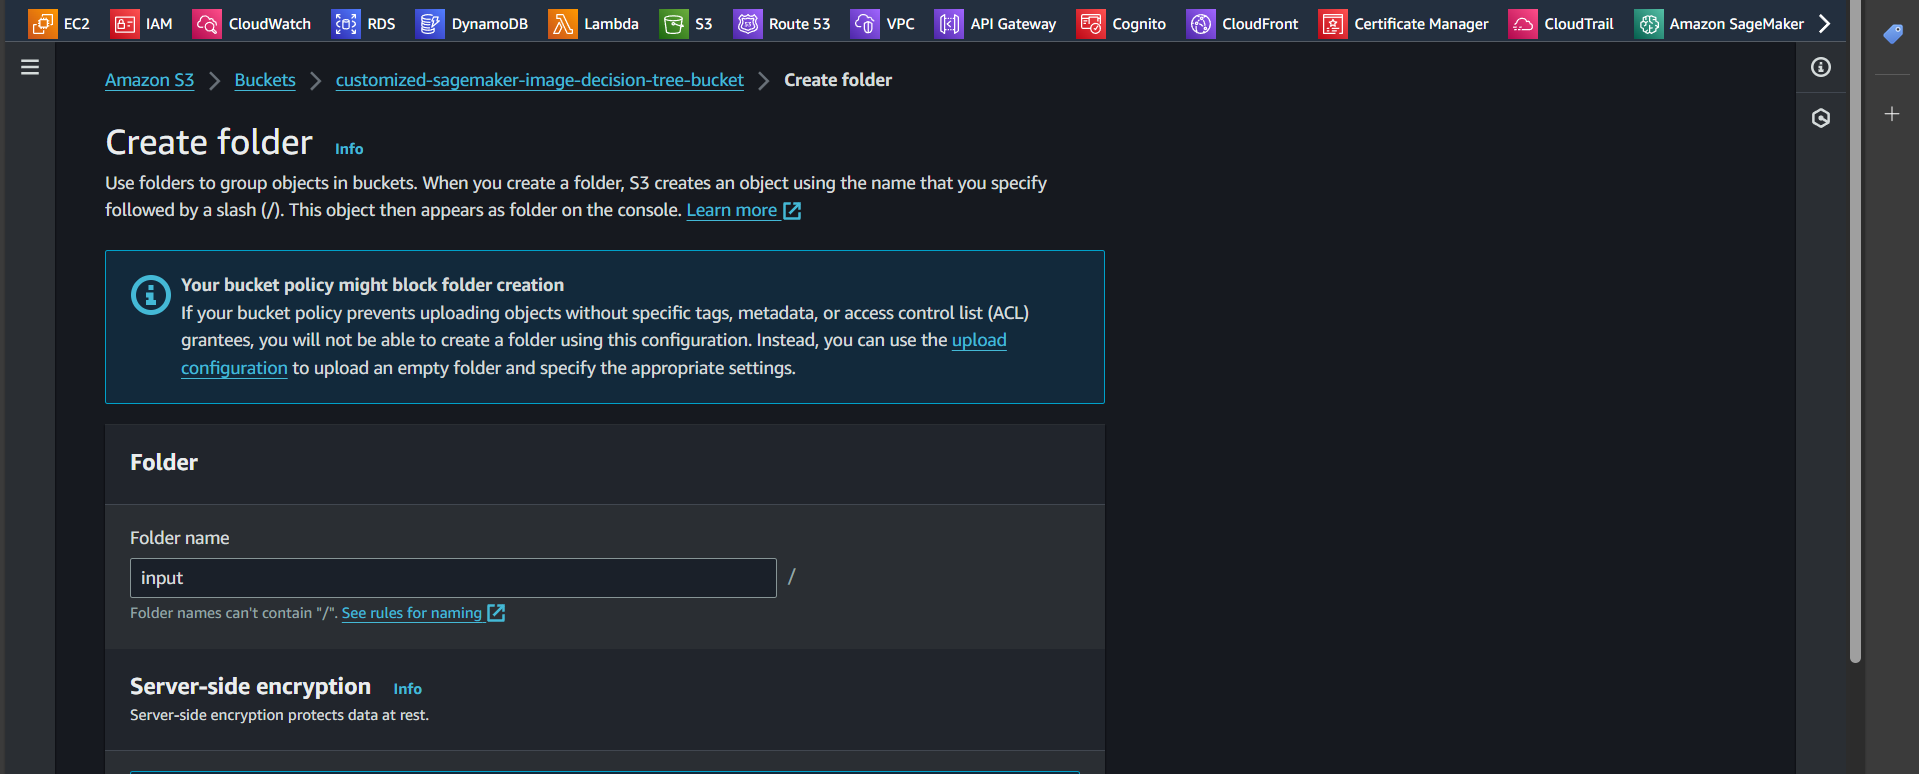
Step 4: Open the newly created bucket and click “Create folder”
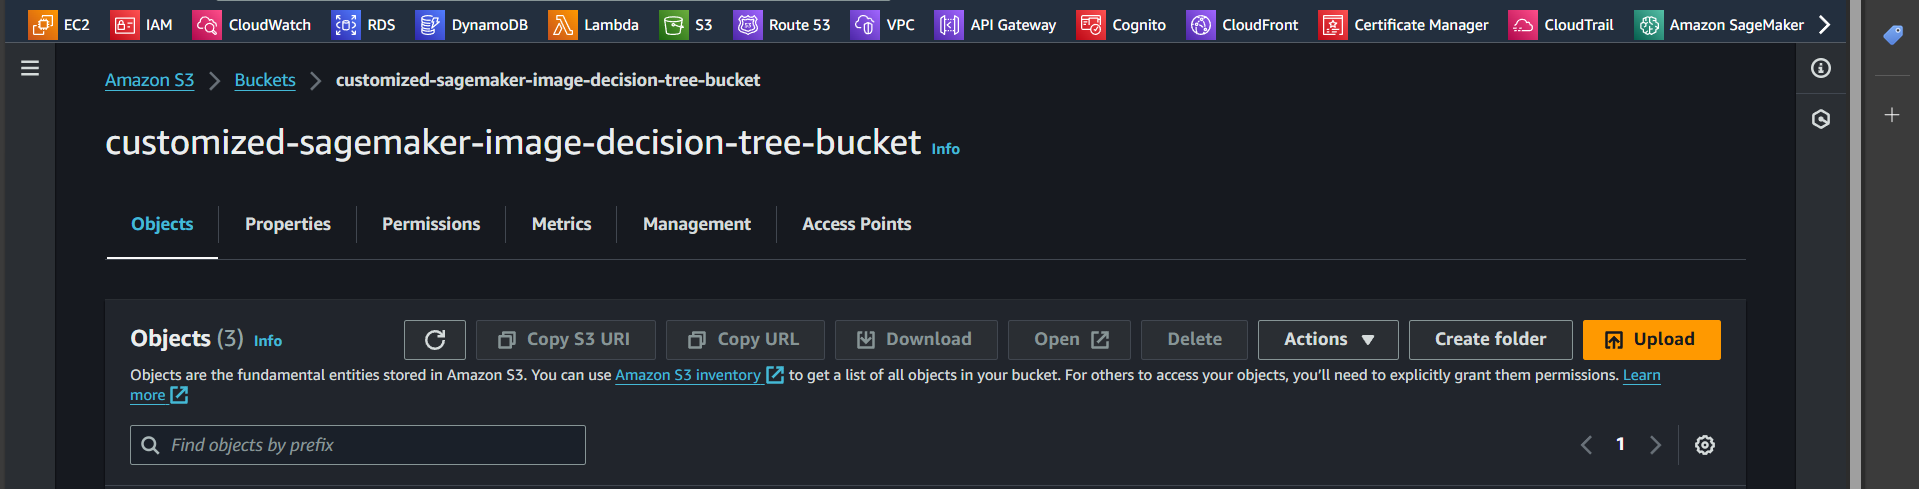
Step 5: Enter the name input and click “Create folder”
Step 6: Similarly, create a new folder named output and click “Create folder”

Step 7: Similarly, create a new folder named train-script and click “Create folder”

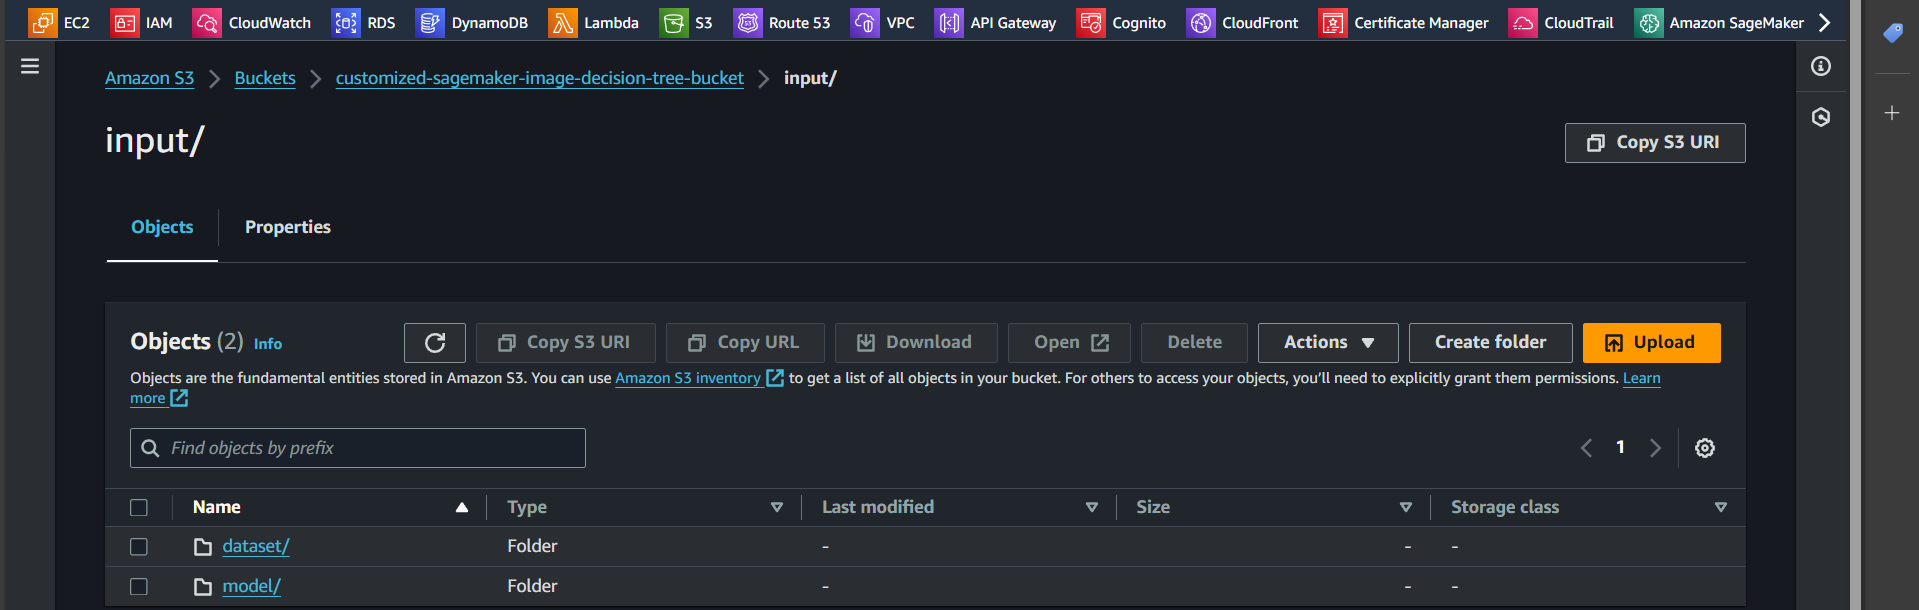
Step 8: Inside the input folder, create two additional folders: dataset and model
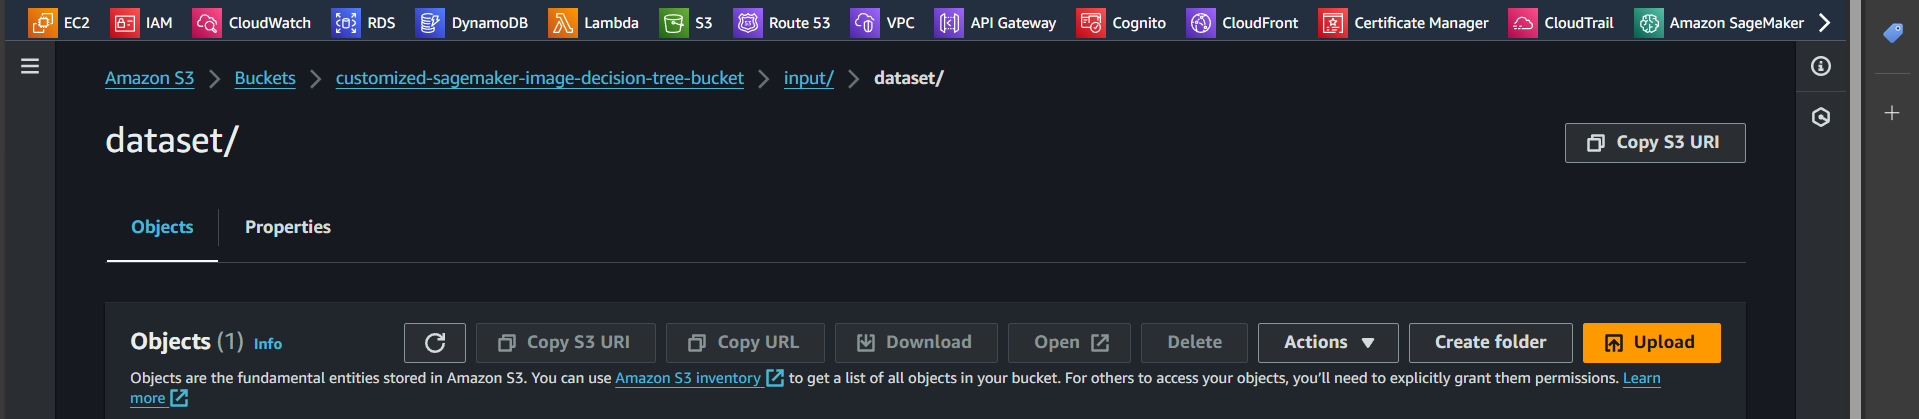
Step 9: Open the dataset folder and click the Upload button
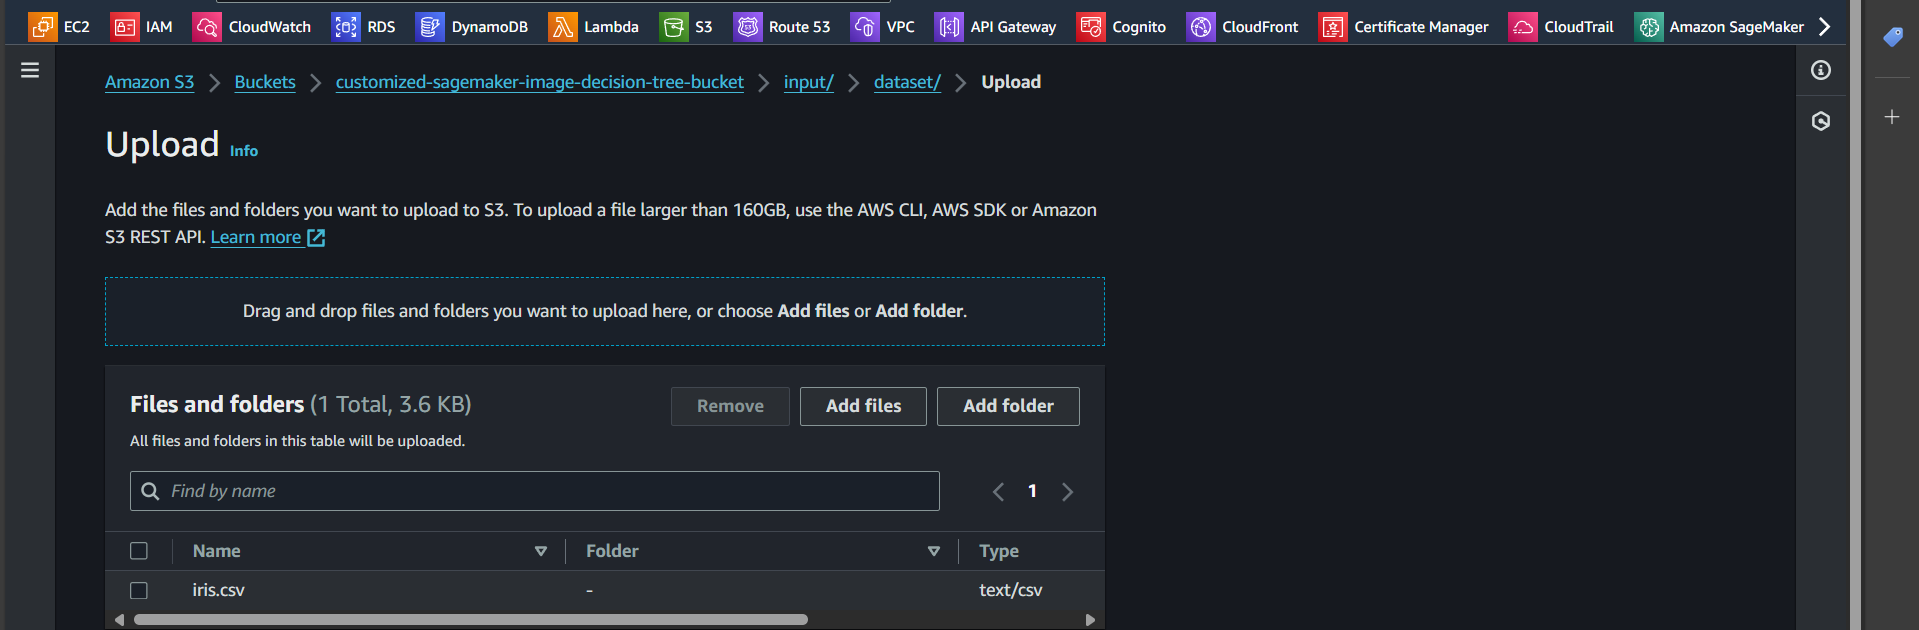
Step 10: Select the iris.csv file and upload it
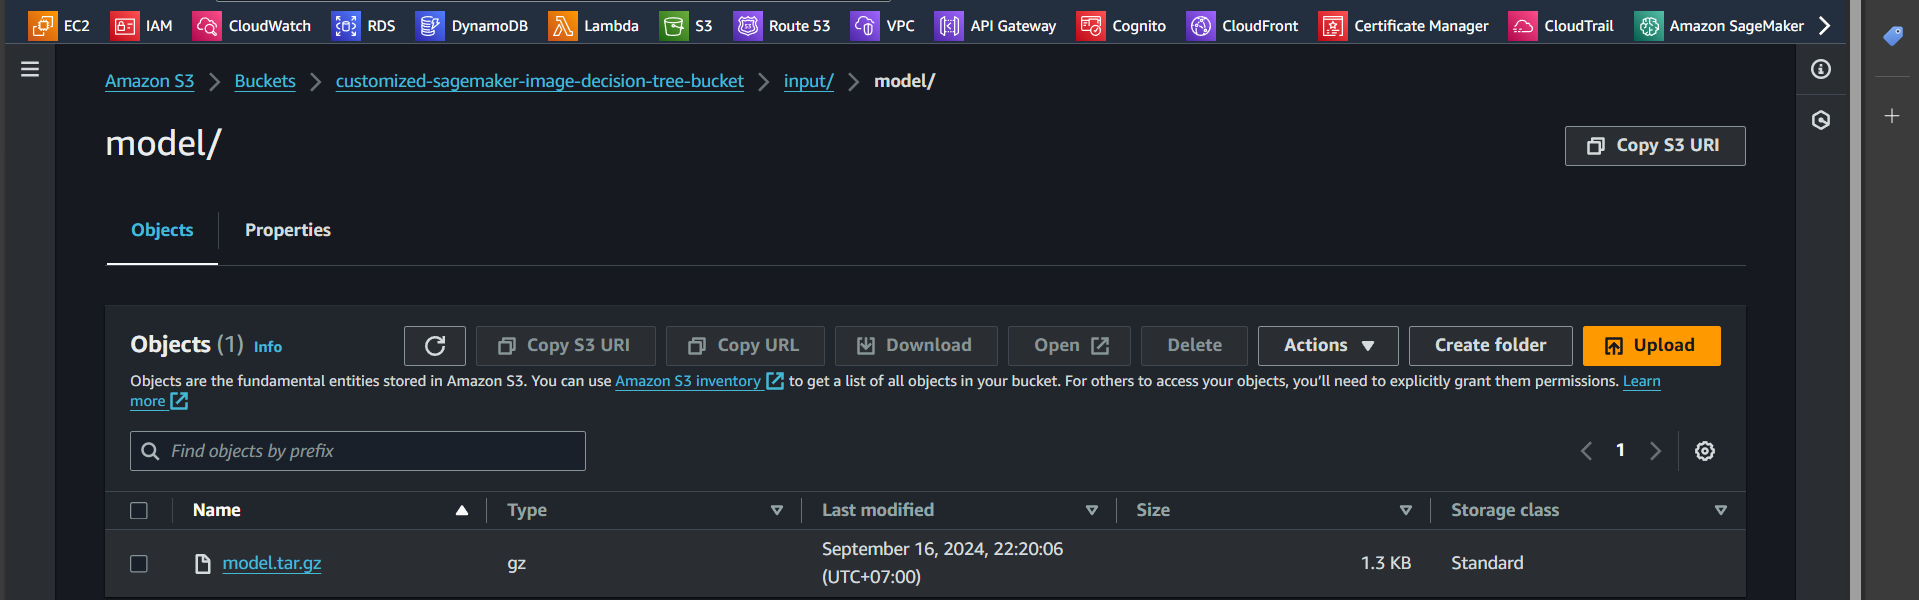
Step 11: Similarly, go to the model folder and upload the file model.tar.gz
Create policy and role
Create Policy
Granting Permission to Create a Training Job
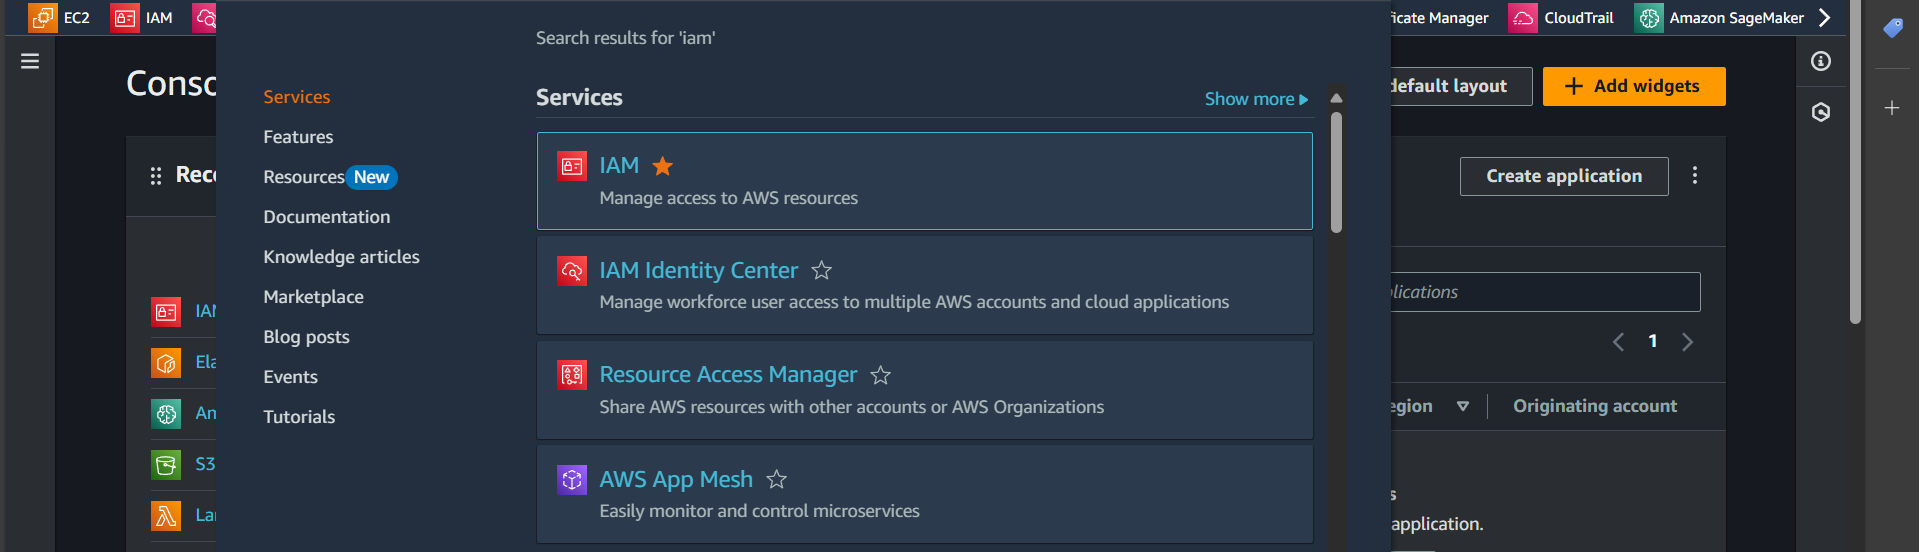
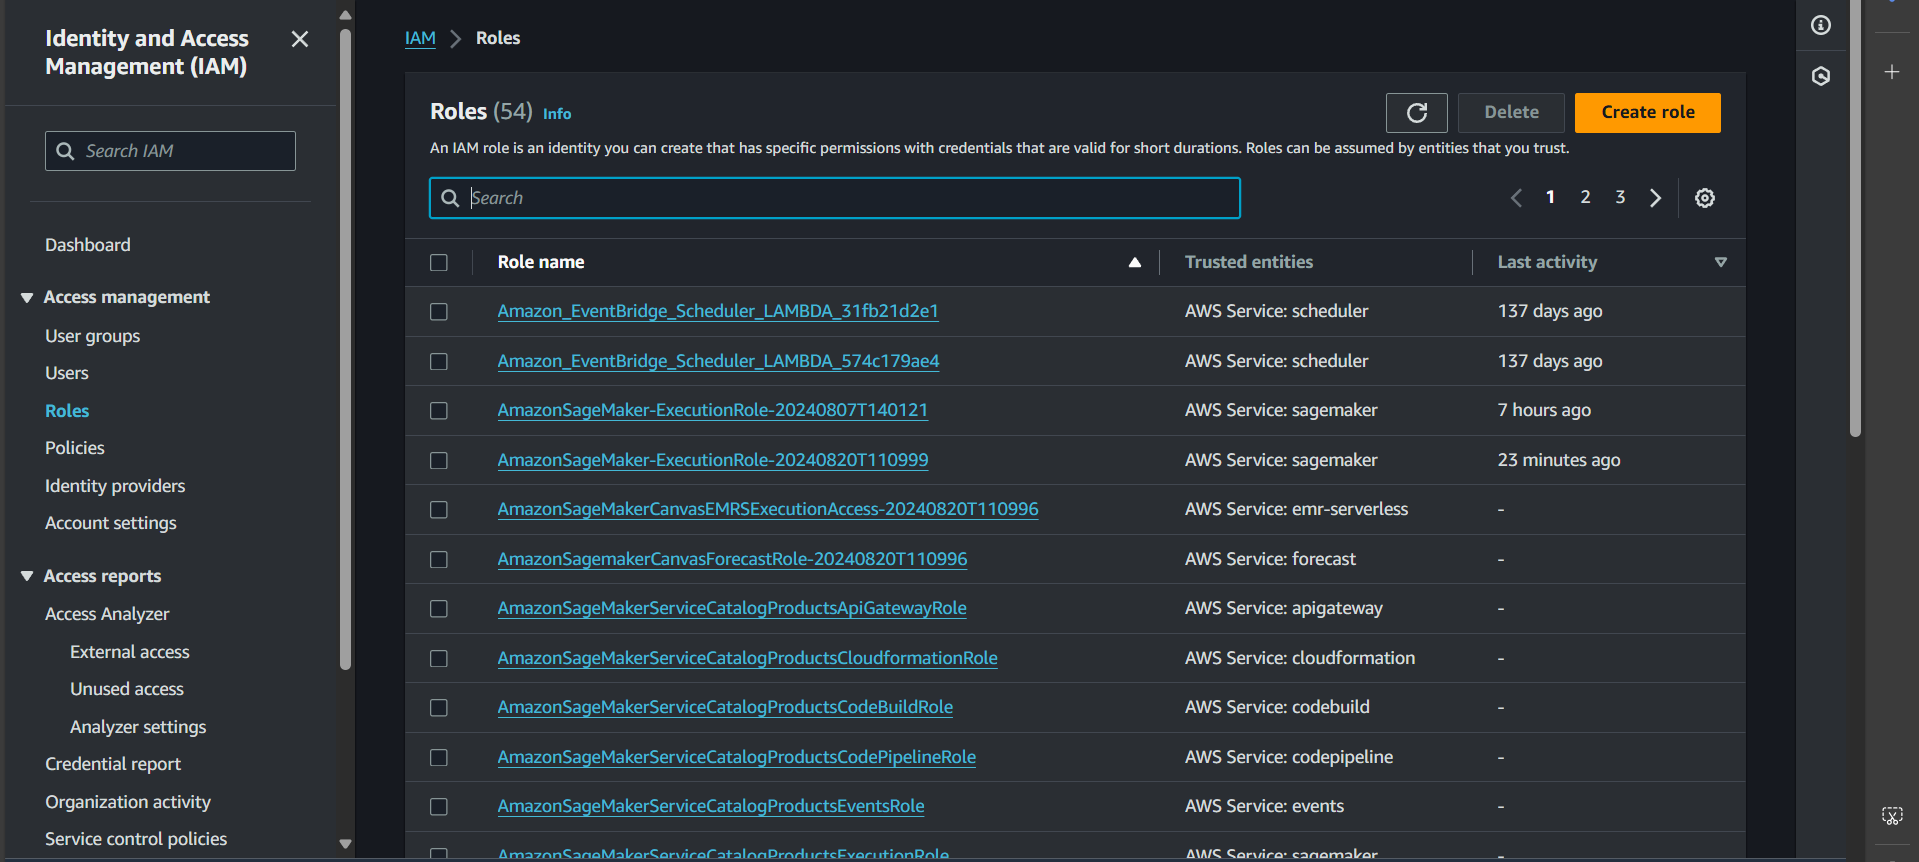
Step 1: Search for the IAM service
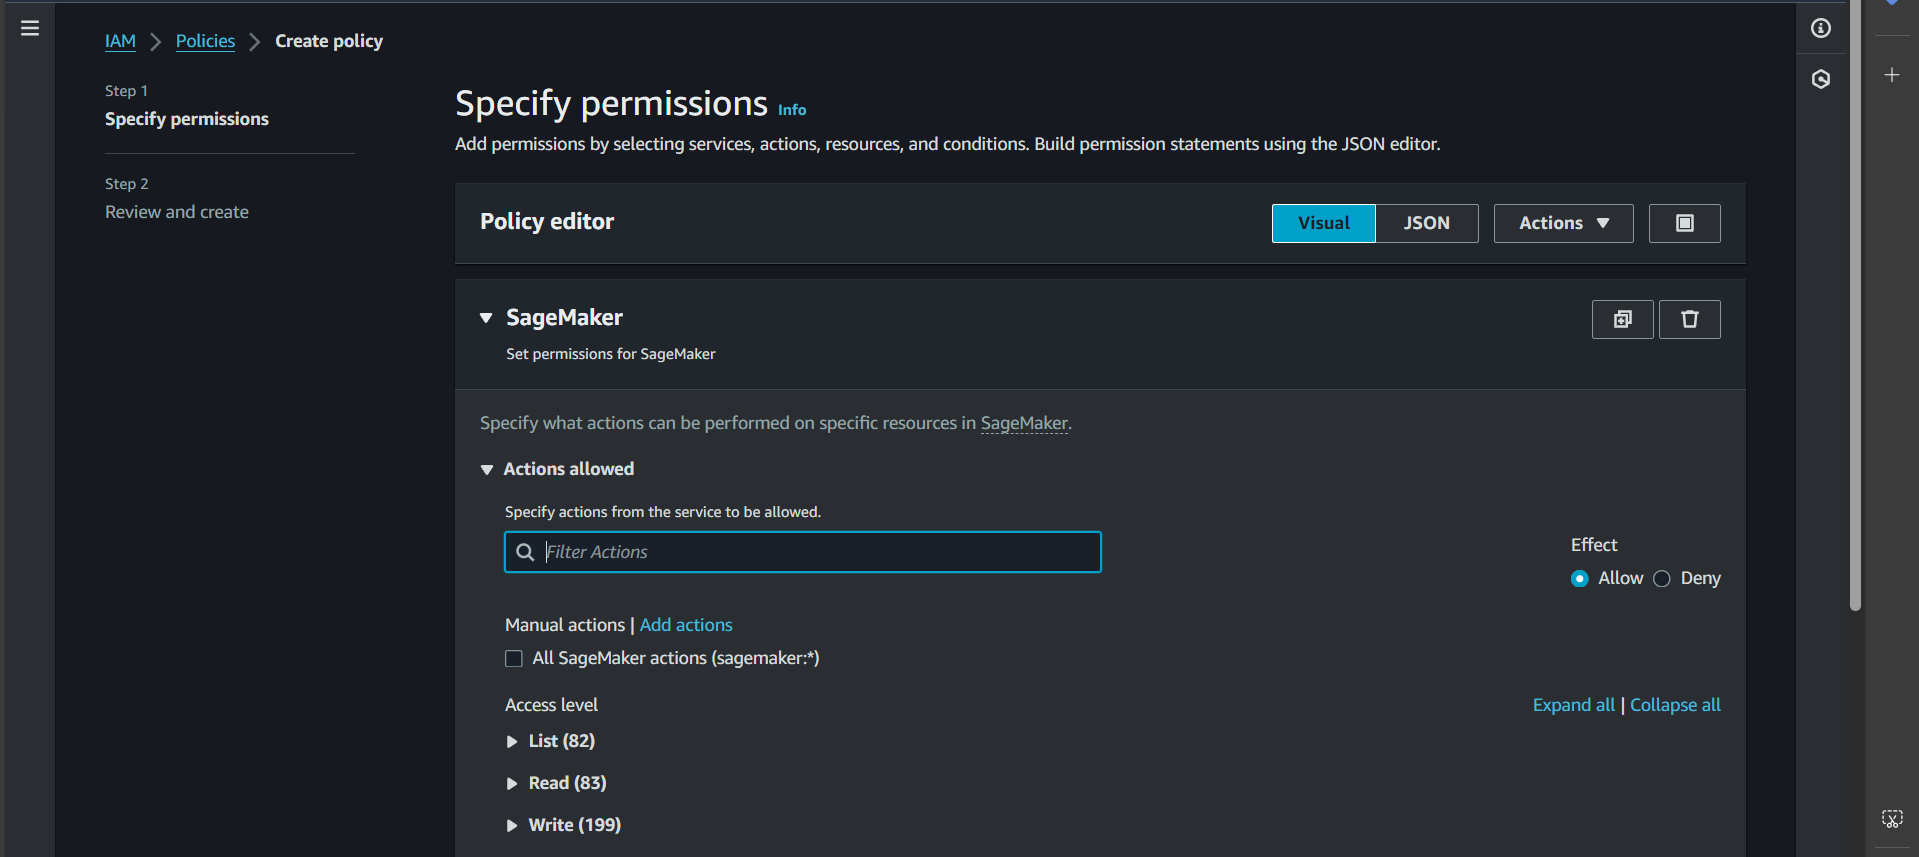
Step 2: Navigate to the Policies tab and click Create policy

Step 3: In the Service section, select SageMaker, then switch to the JSON tab and paste the following snippet:
| |
Explanation:
This policy grants the necessary permissions for SageMaker to perform the following actions:
- Create a training job
- Generate logs
- Retrieve objects (dataset, model) from S3
- Upload objects (trained model) to S3
- Pull images from ECR
Make sure to customize {region} and {account-id} according to your setup.
Step 4: Enter the policy name and click Create policy
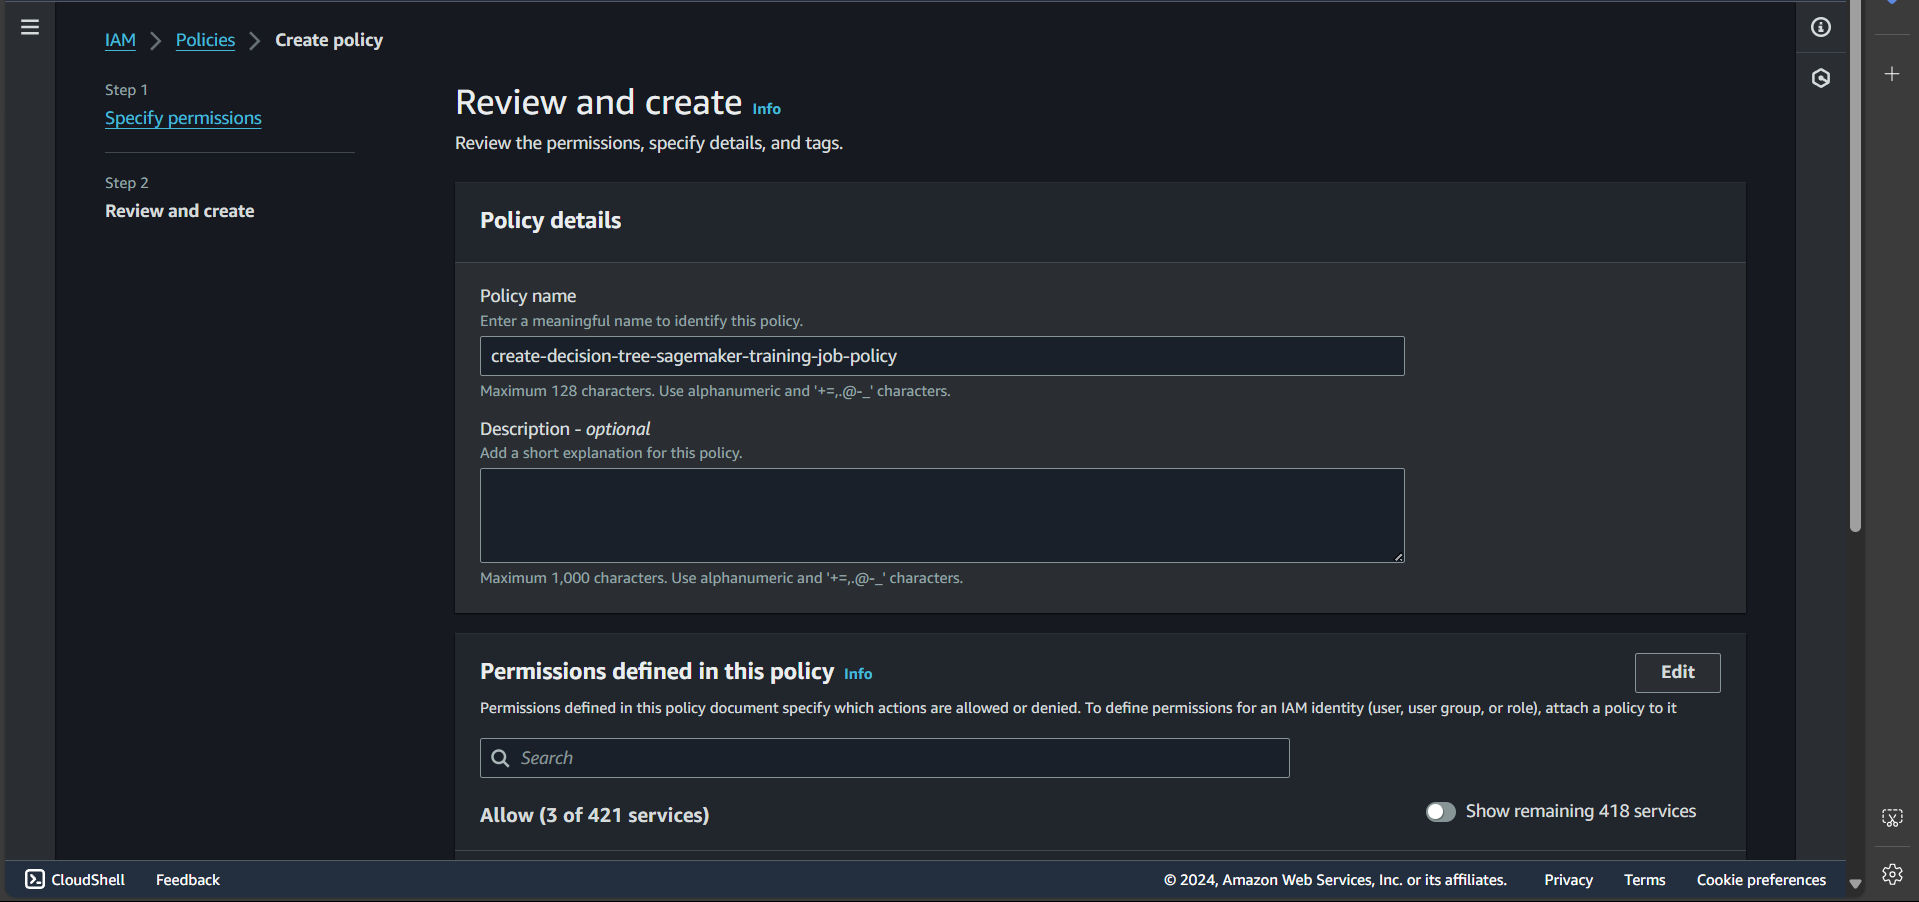
Successfully created:

Granting Permissions to Create an Endpoint
Following the same steps as above, create a policy named create-decision-tree-sagemaker-endpoint-policy with the following JSON content:
| |
Create Role
Create a Role for Training Jobs
Step 1: Go to the Roles tab and select Create role
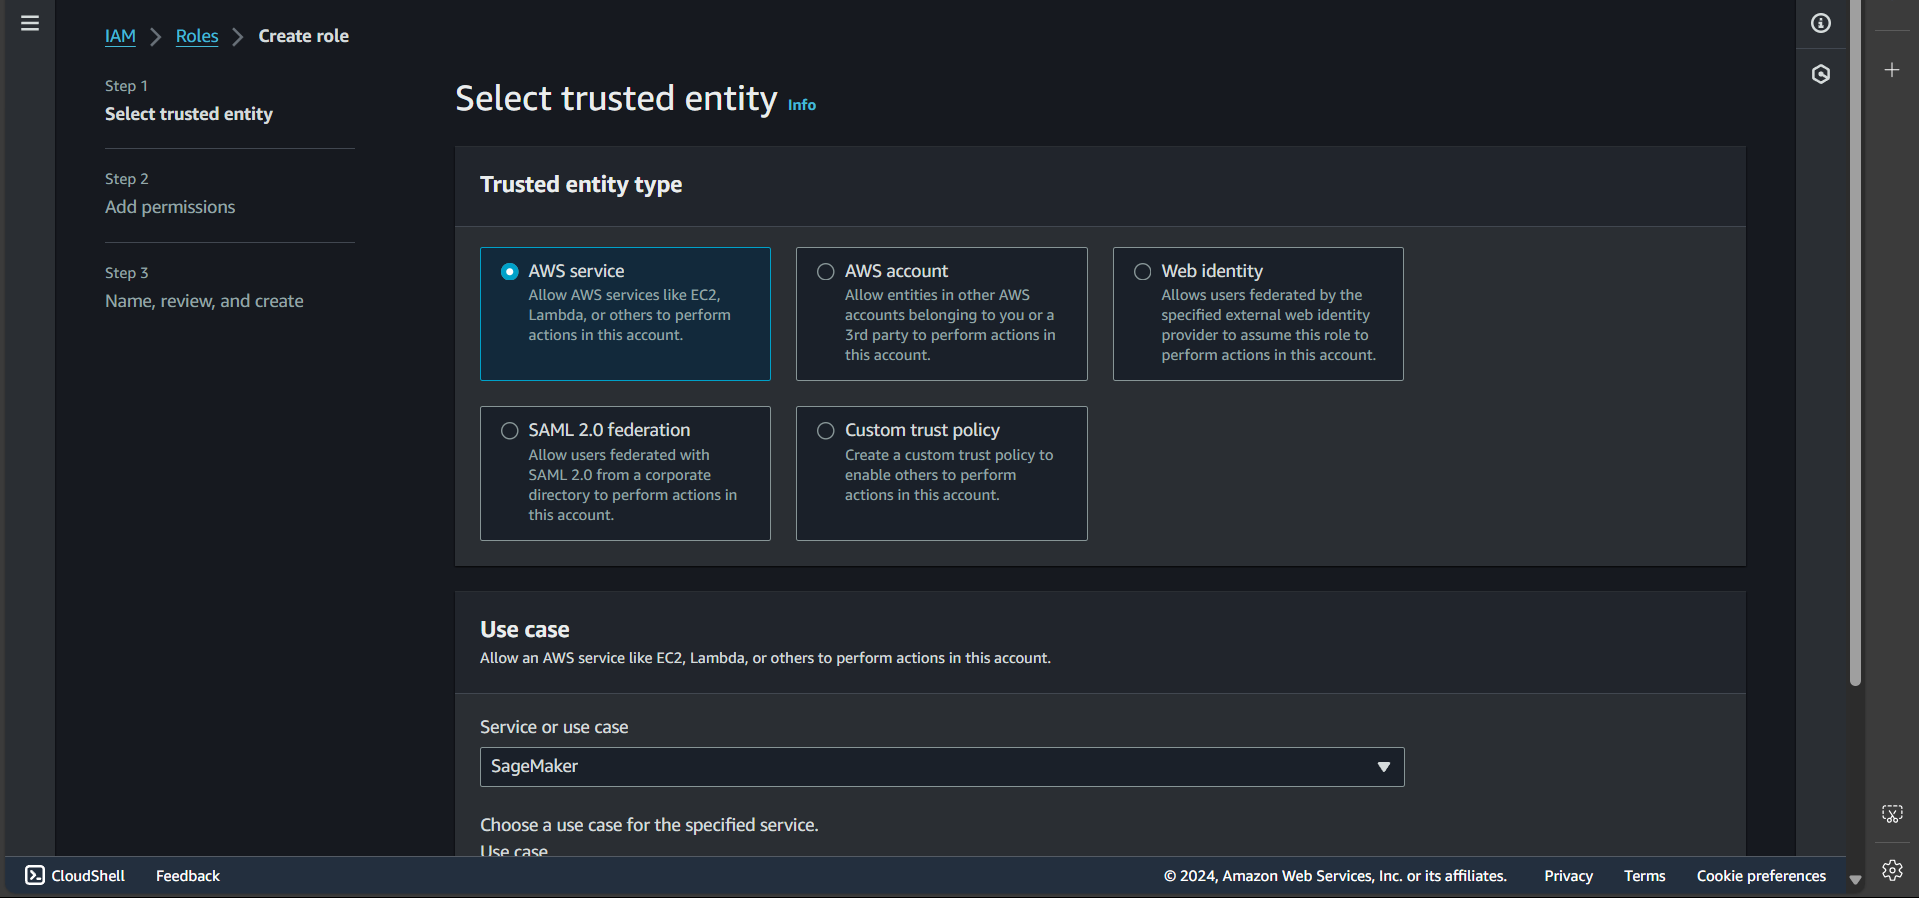
Step 2: Select the SageMaker service and click Next
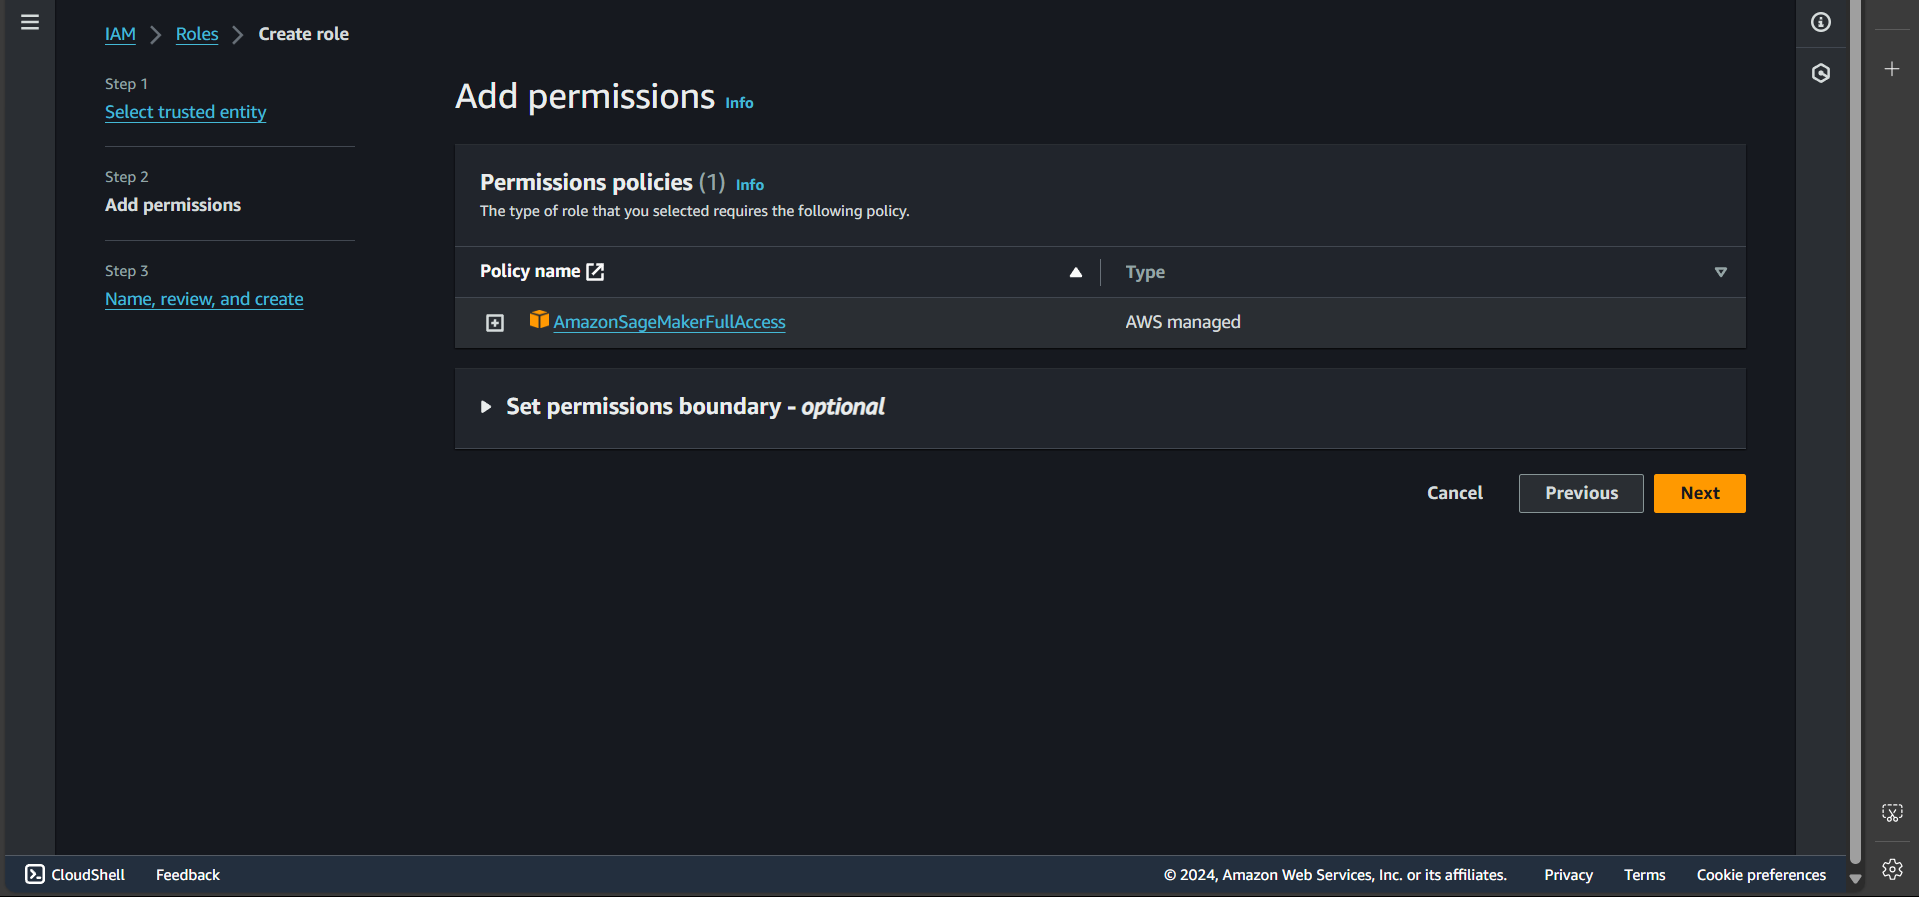
Step 3: Click Next again
Step 4: Enter the role name
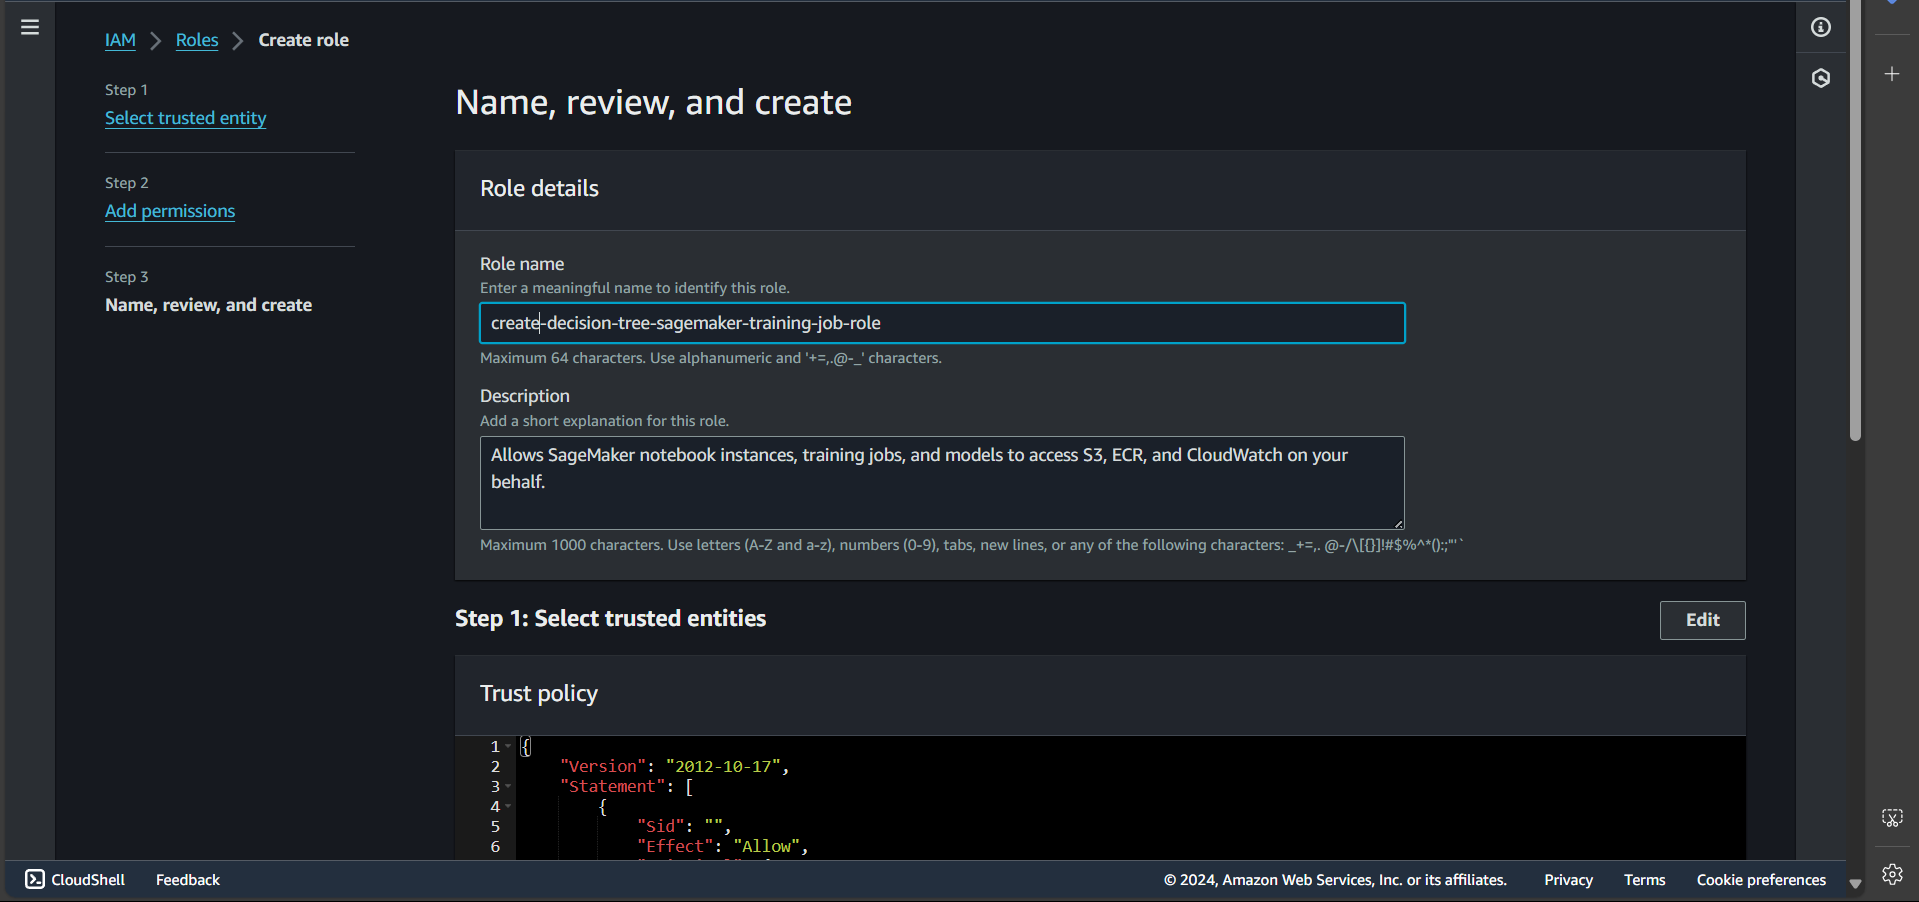
Ensure the Trust policy looks like this:
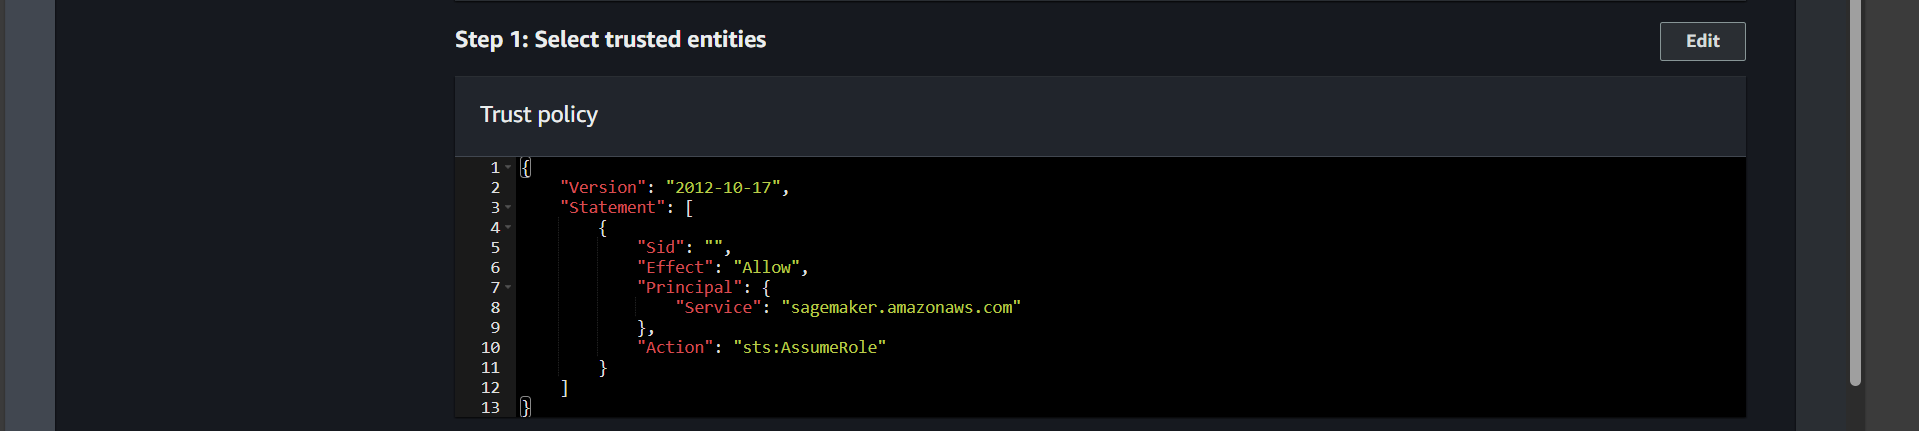
Click Create role
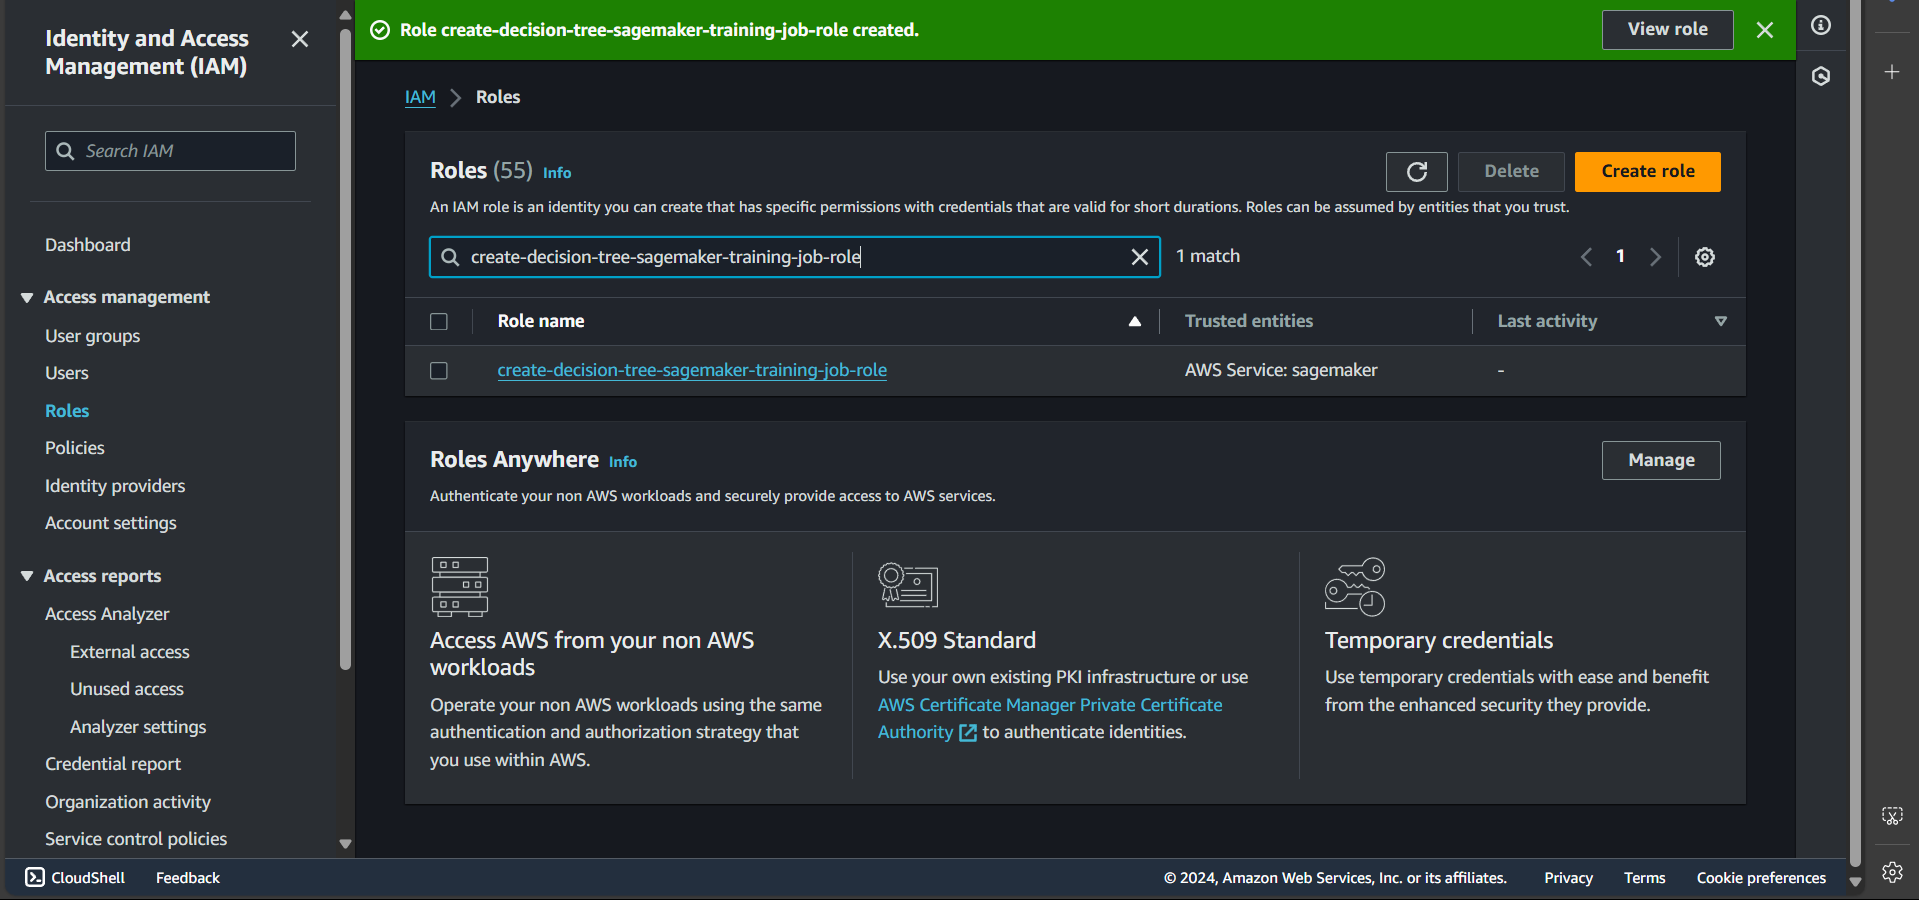
Step 5: Once created successfully, search for and click on the newly created role
Step 6: Select the default policy and click Remove

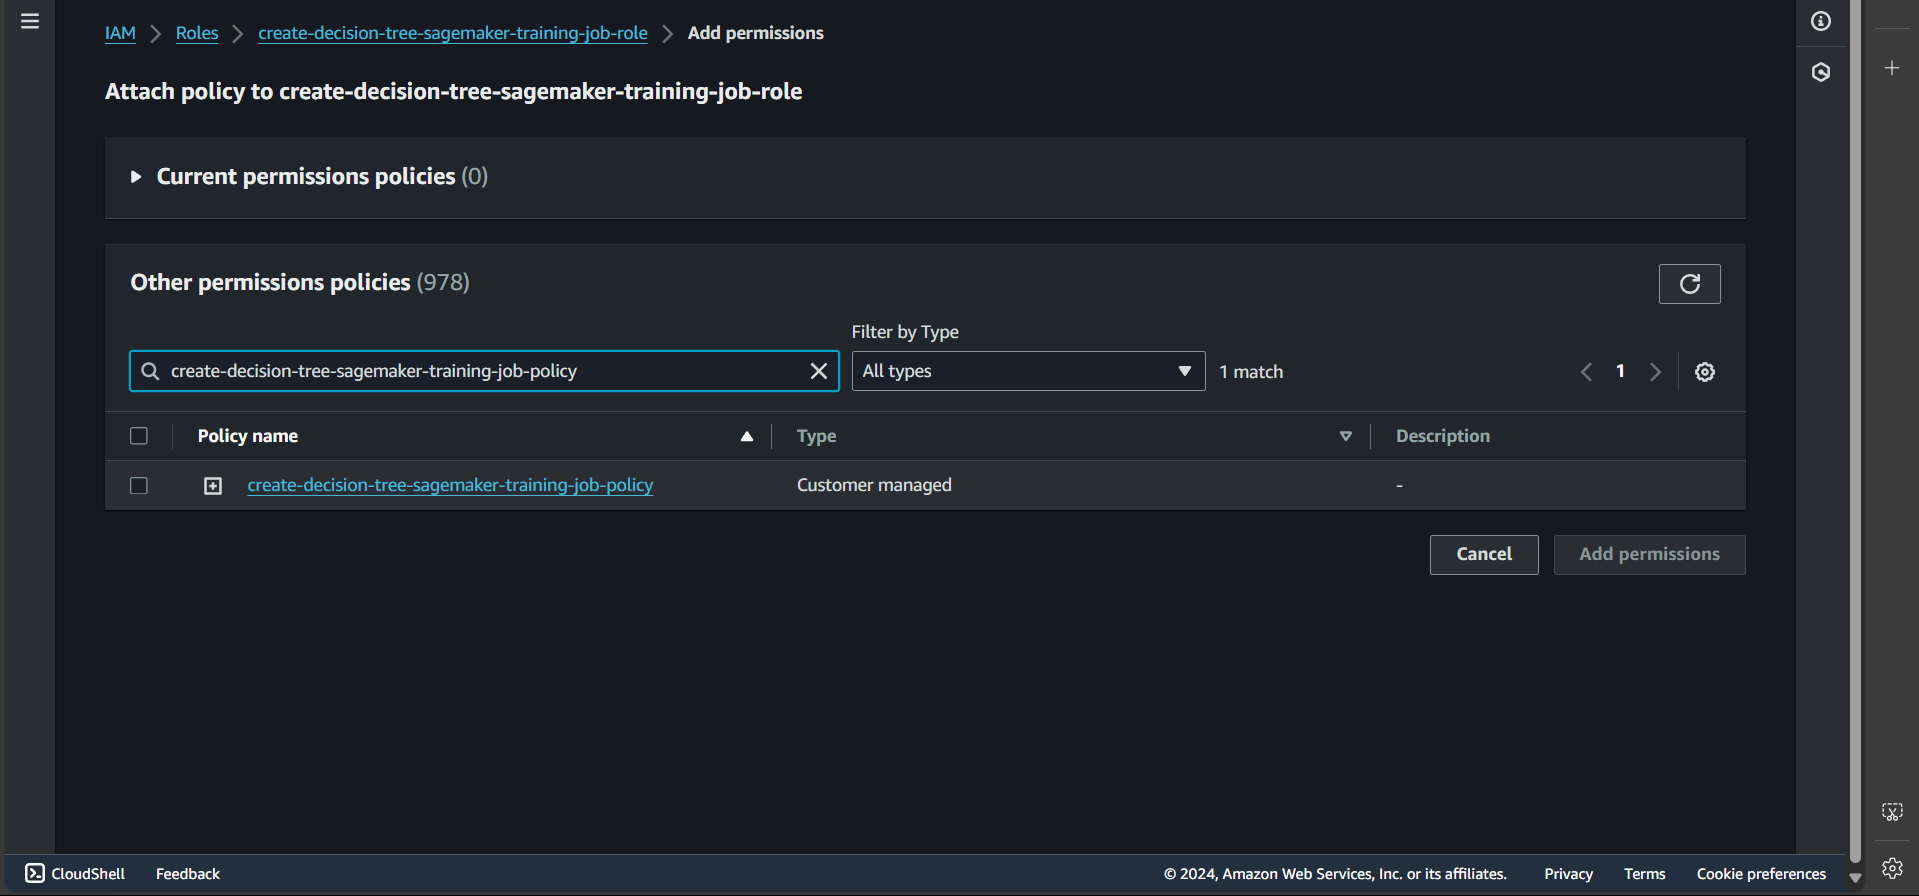
Step 7: Click Add permissions, then Attach policy, and enter the name of the policy we created earlier
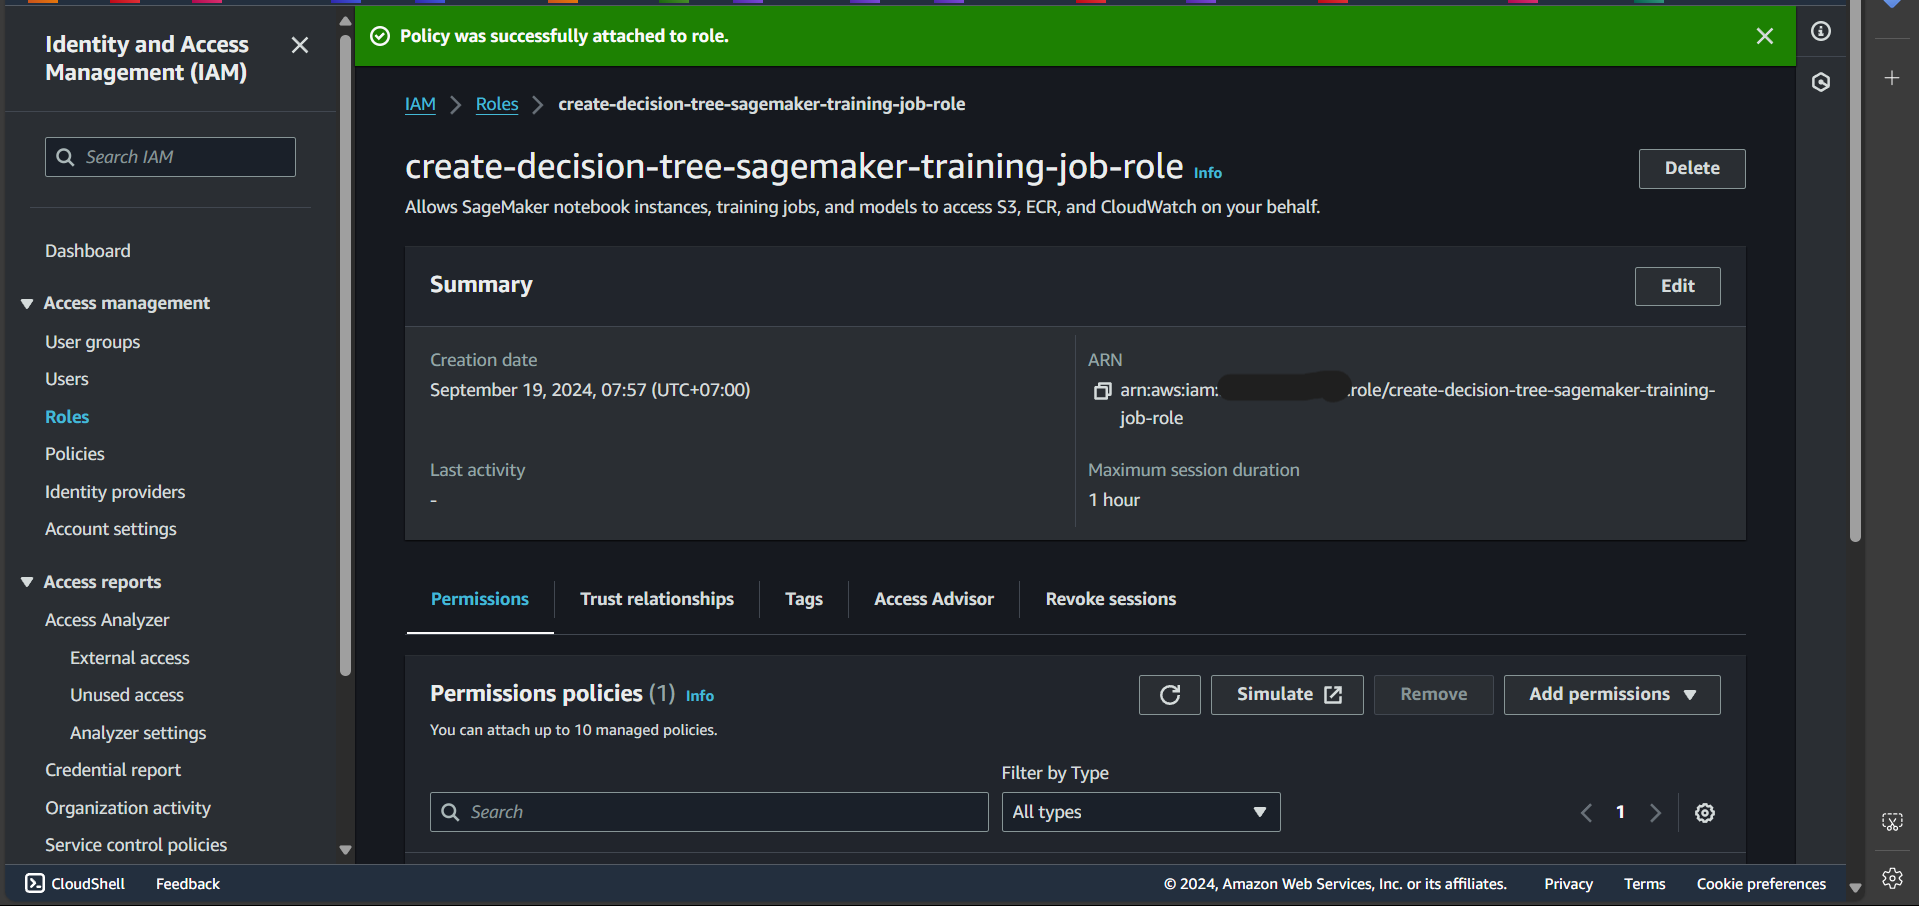
Successfully attached:
Create a Role for the Endpoint
Follow the same steps above to create a role named create-decision-tree-sagemaker-endpoint-role, remove the default policy, and attach the policy create-decision-tree-sagemaker-endpoint-policy.
Create Lambda Functions
We will create Lambda functions to perform the following tasks: creating a training job, creating an inference endpoint, and invoking a prediction endpoint.
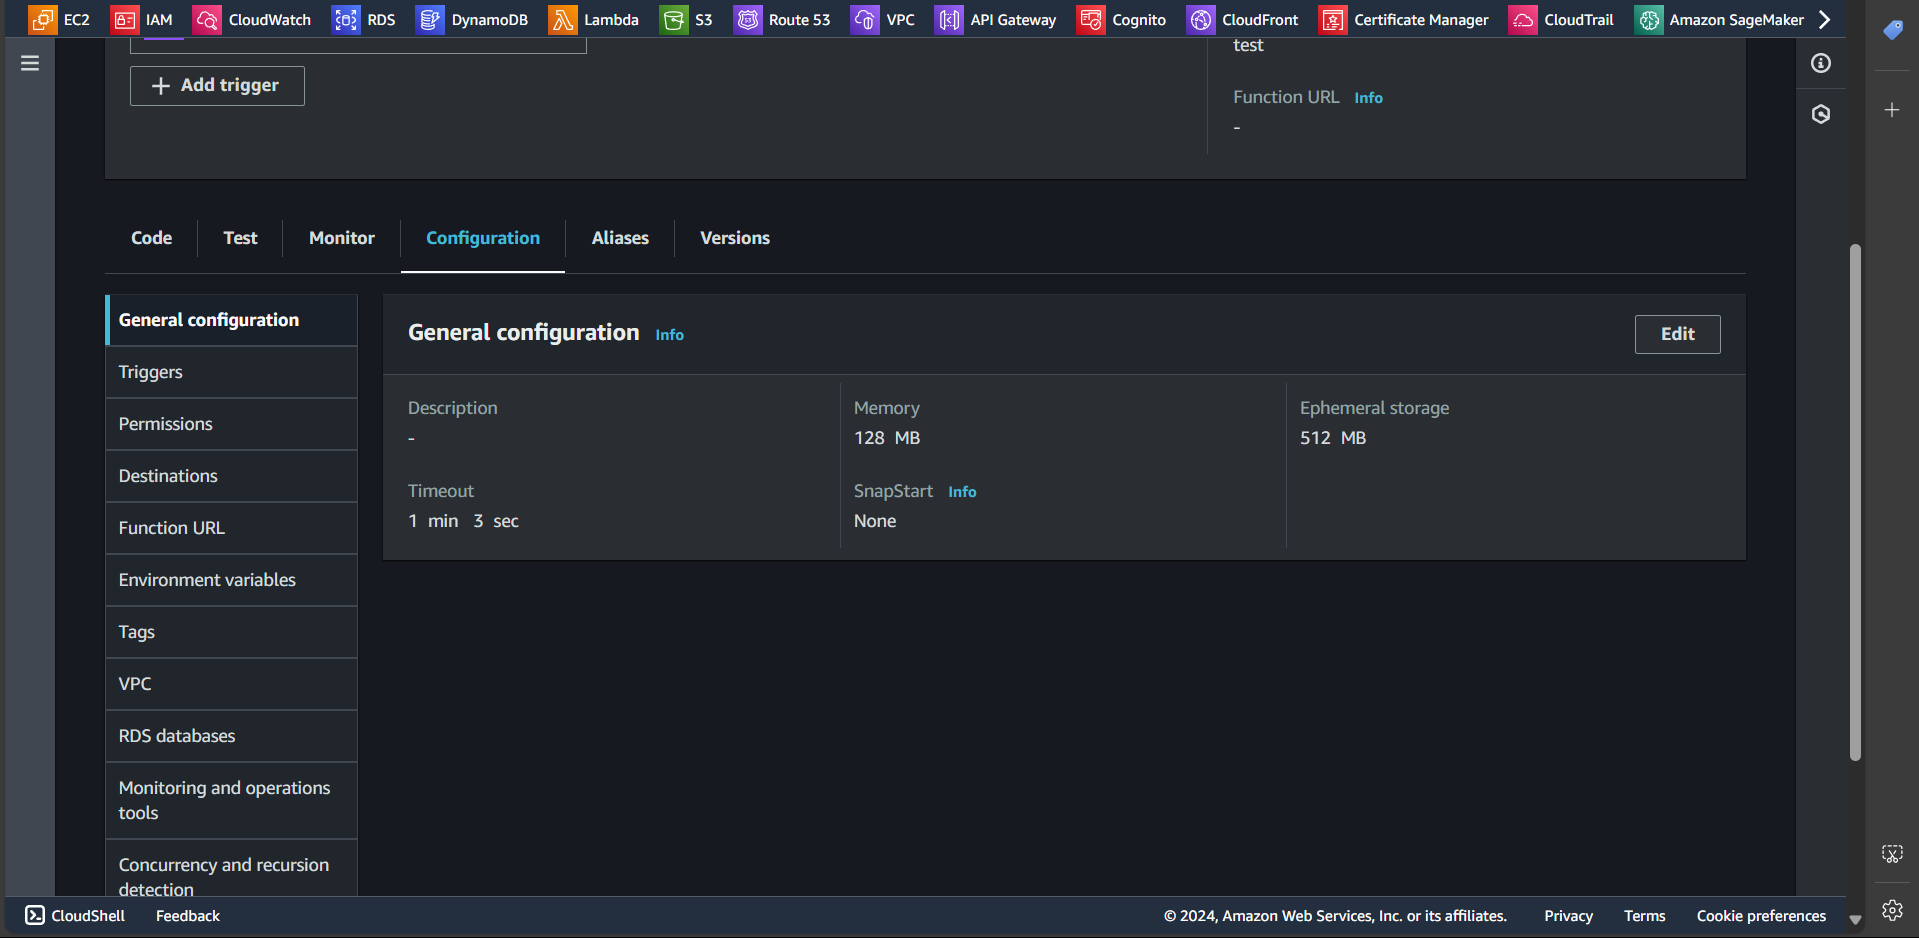
Note: For the Lambda functions created in this section, it is recommended to set the General configuration Timeout to more than one minute.
To do this, follow these steps:
- Access the Lambda function.
- Go to the Configuration tab.
- Select General configuration.
- Click Edit, increase the Timeout duration, and then Save.
Create Lambda Function: Training Job Creation
In this section, we will create a Lambda function responsible for creating a training job
Step 1: Search for the Lambda service
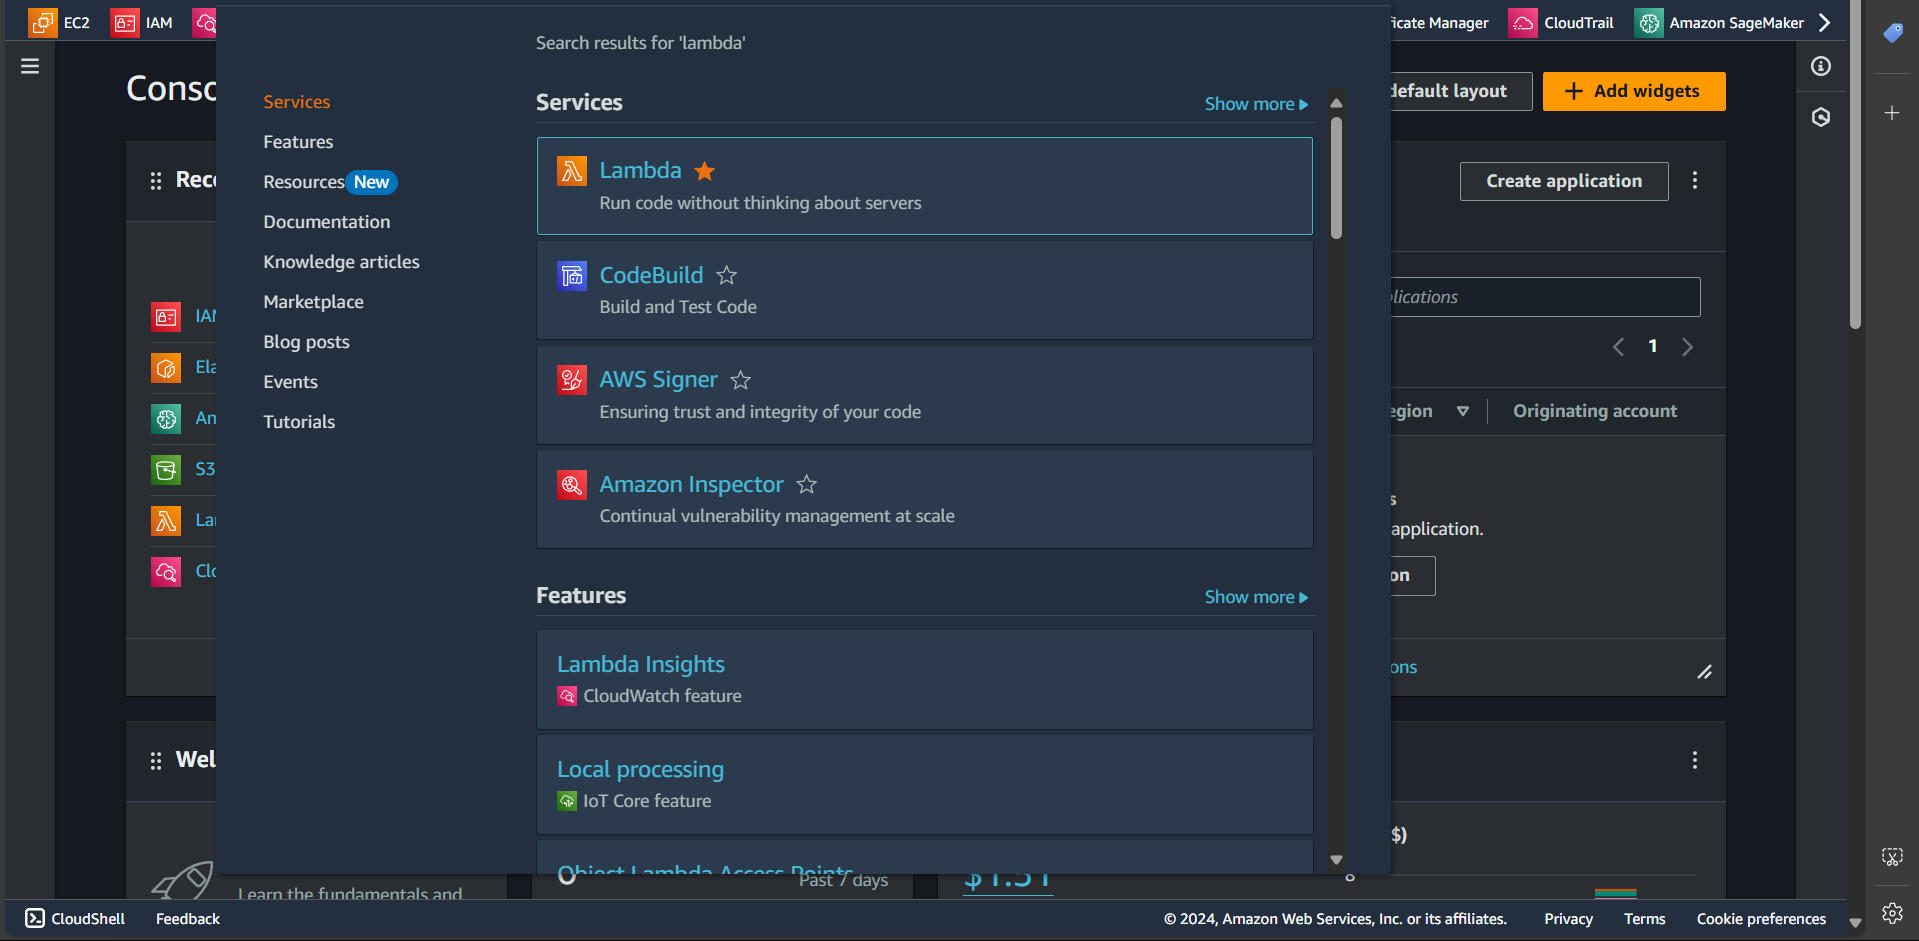
Step 2: Click the Create function button

Step 3: Enter the function name create-training-job-decision-tree-function, select the runtime as Python 3.12, and click Create function
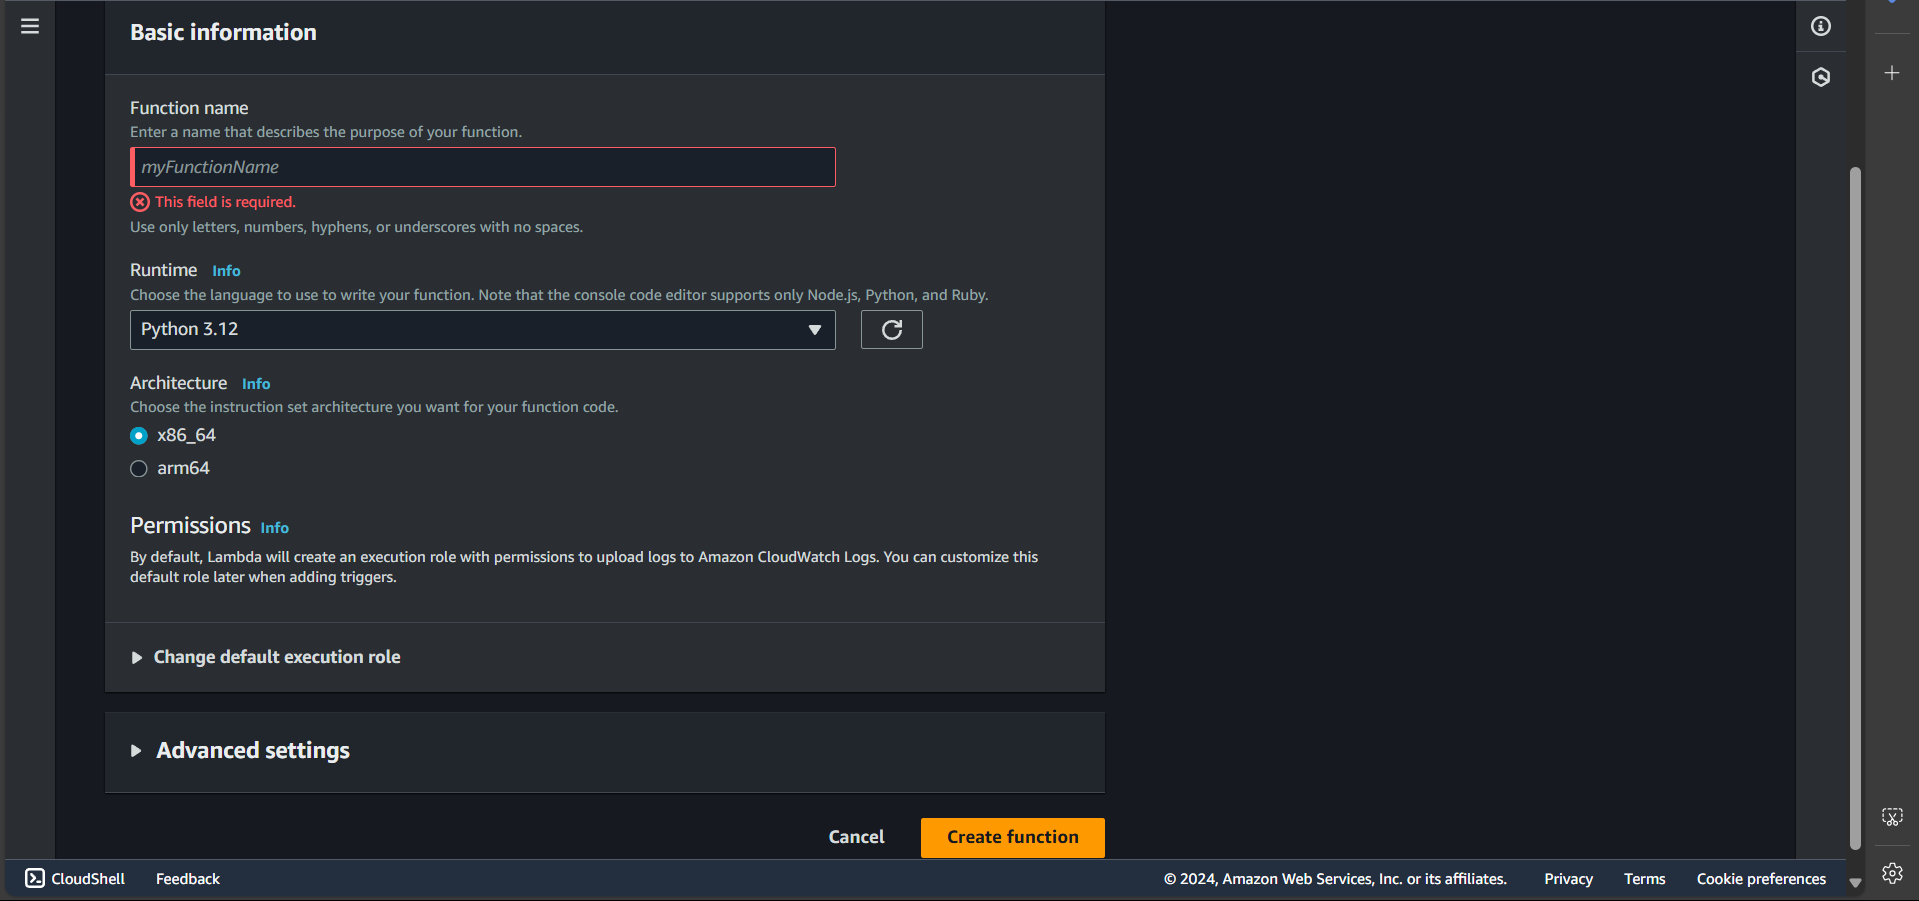
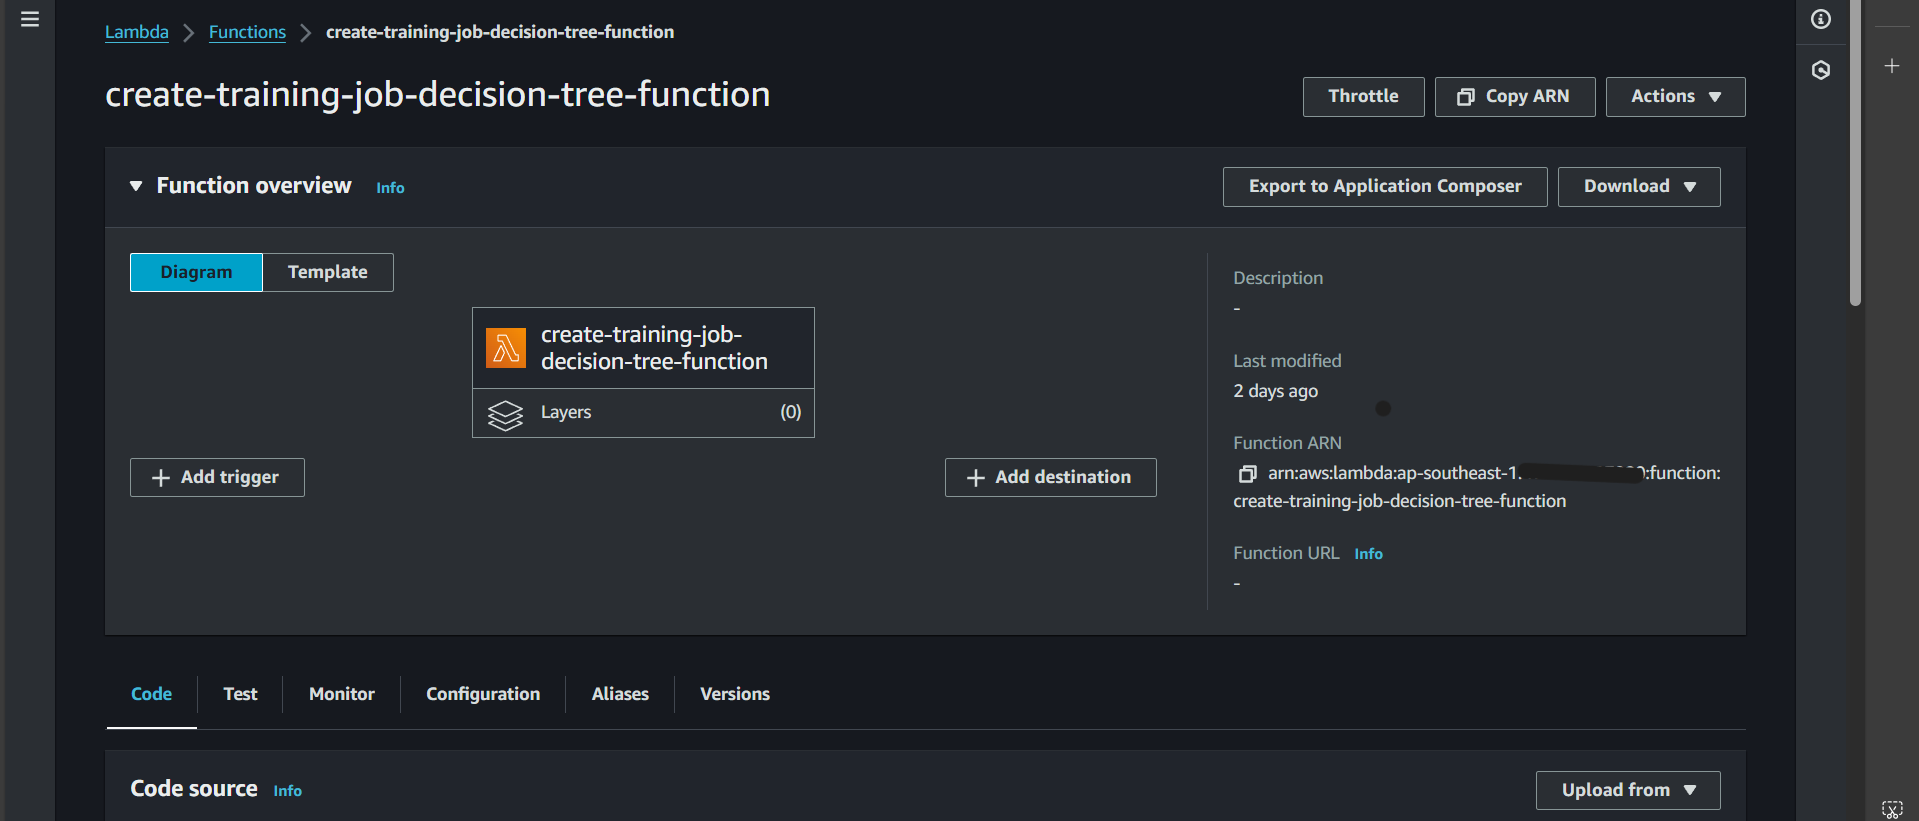
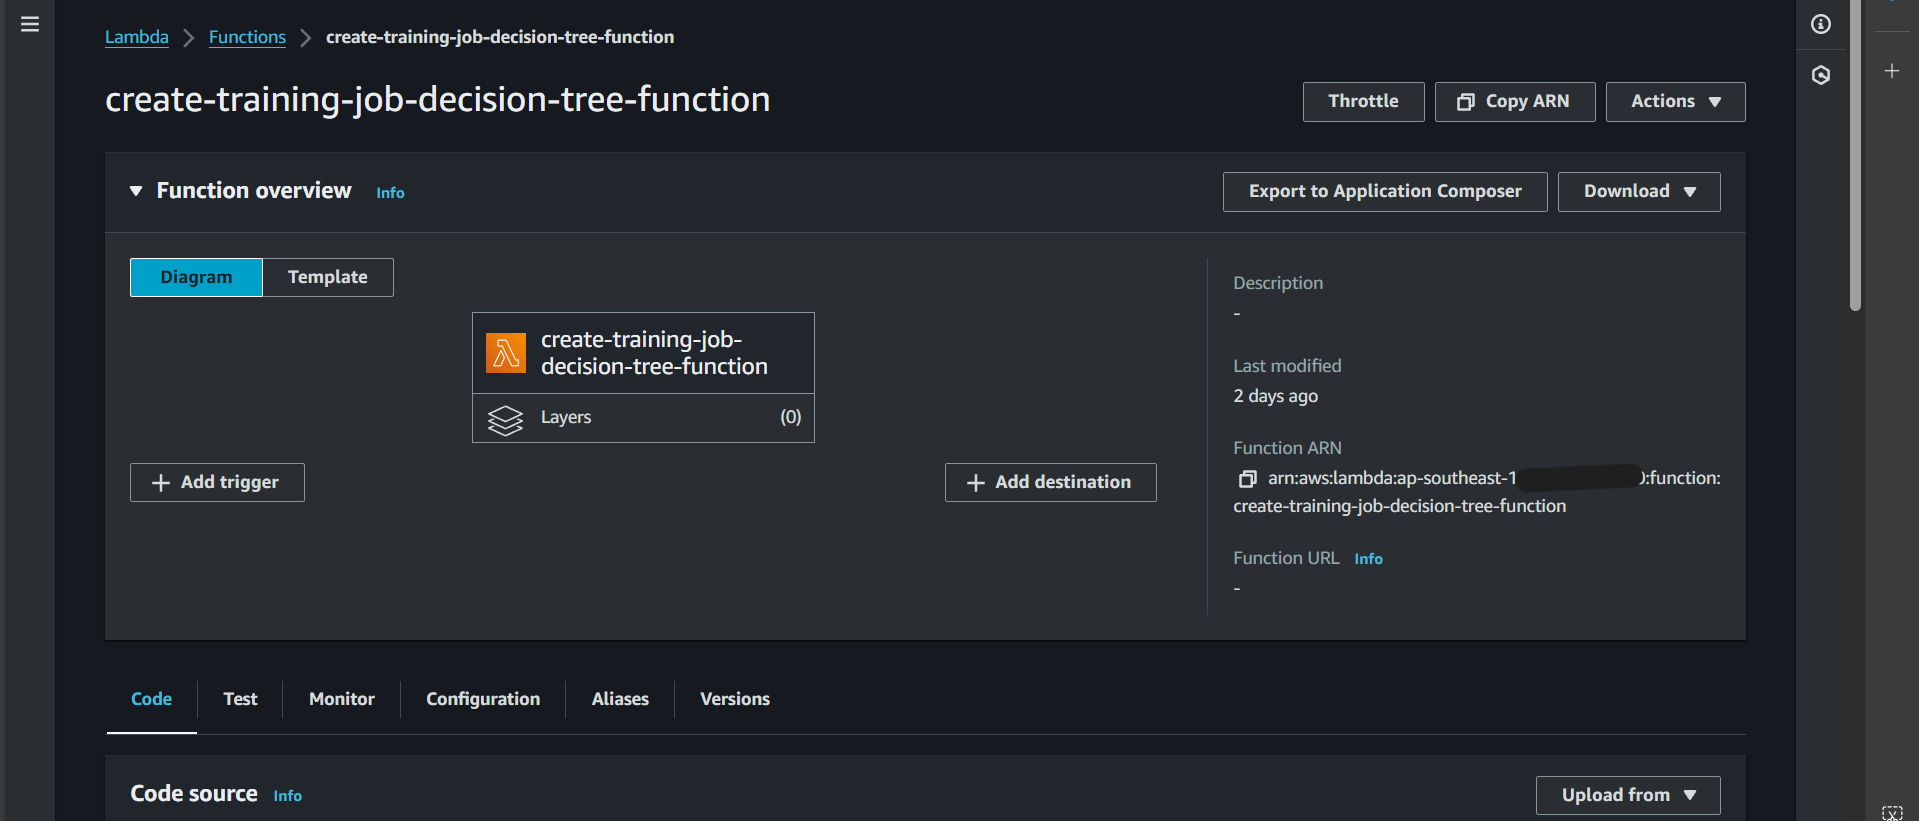
Successfully created:
Step 4: Go to the Configuration tab, select Permissions, and click on Role name
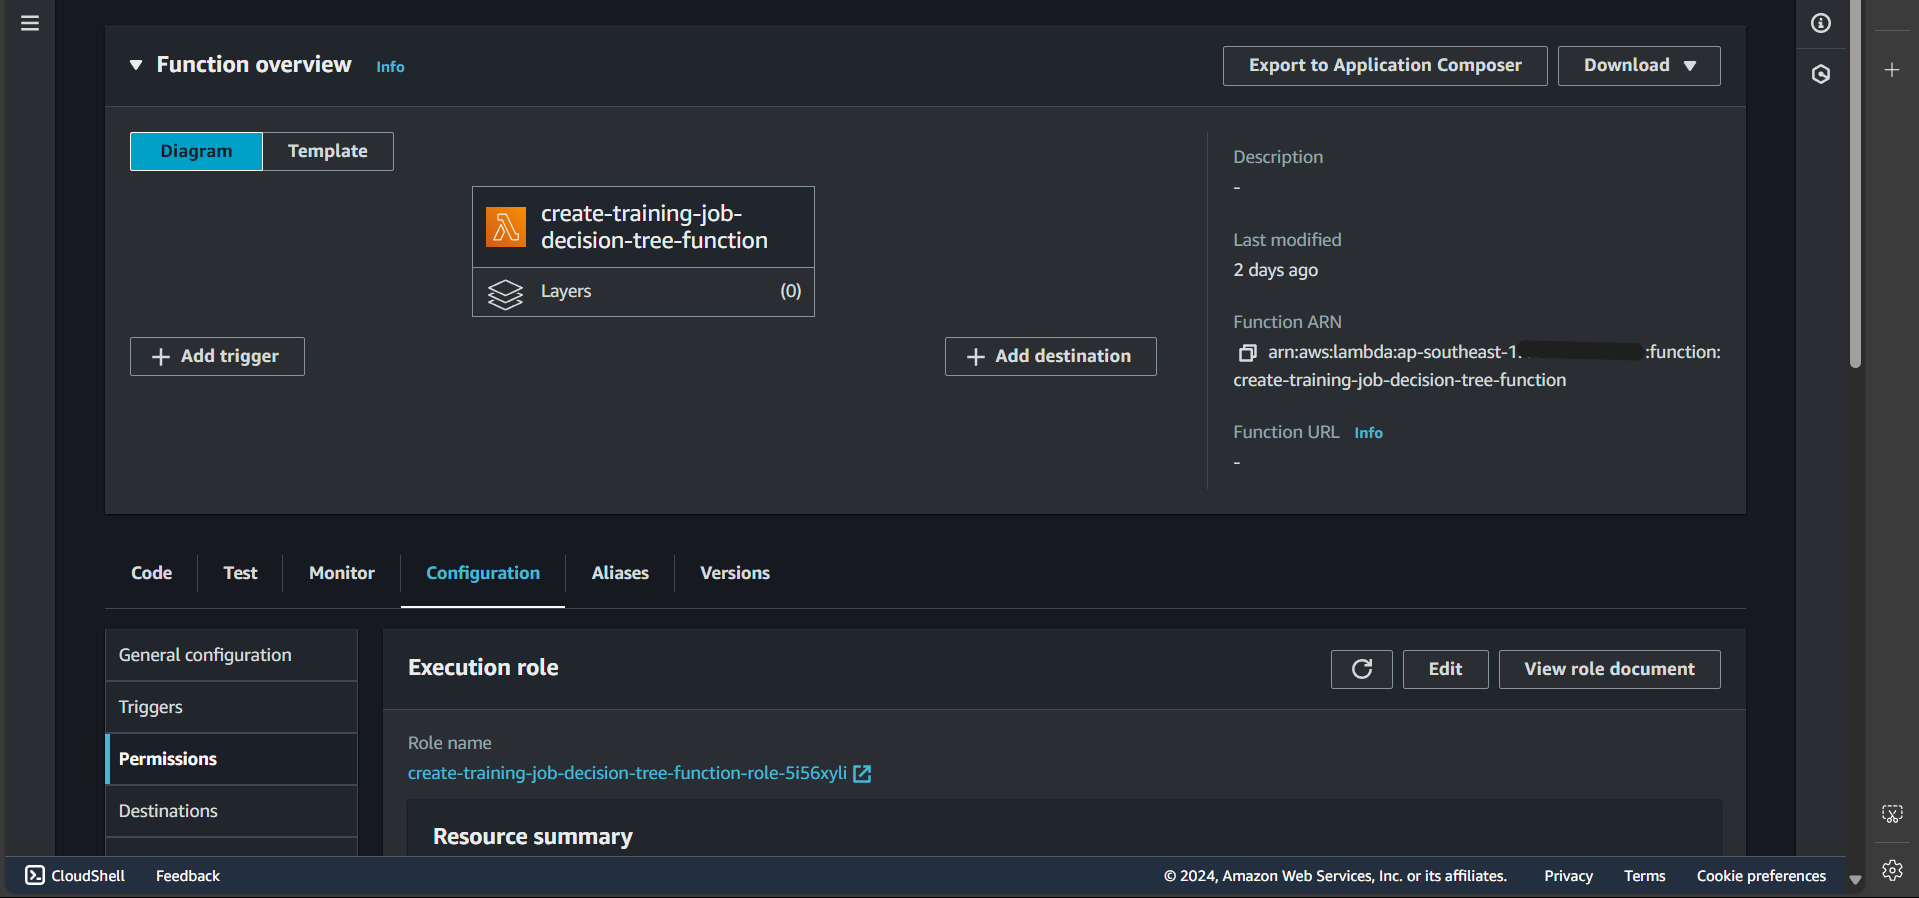
The following page will open:

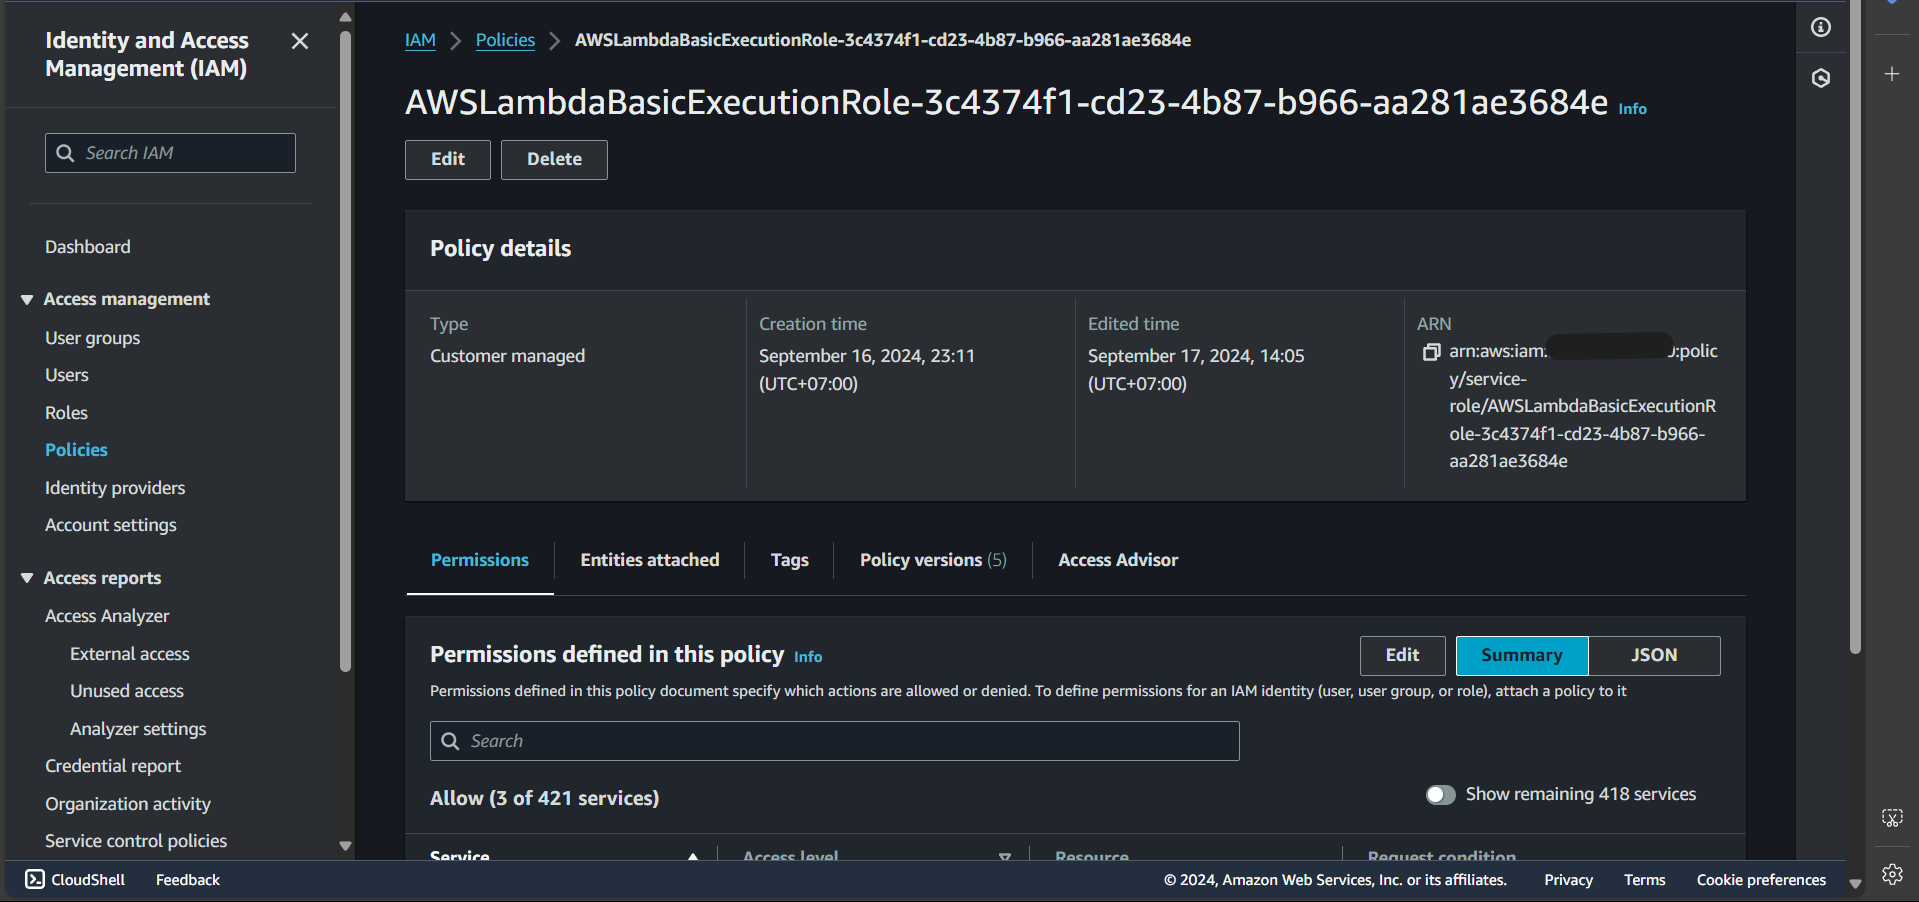
Step 5: Under Permissions policies, select the first policy:
Navigate to a new tab and click Edit:
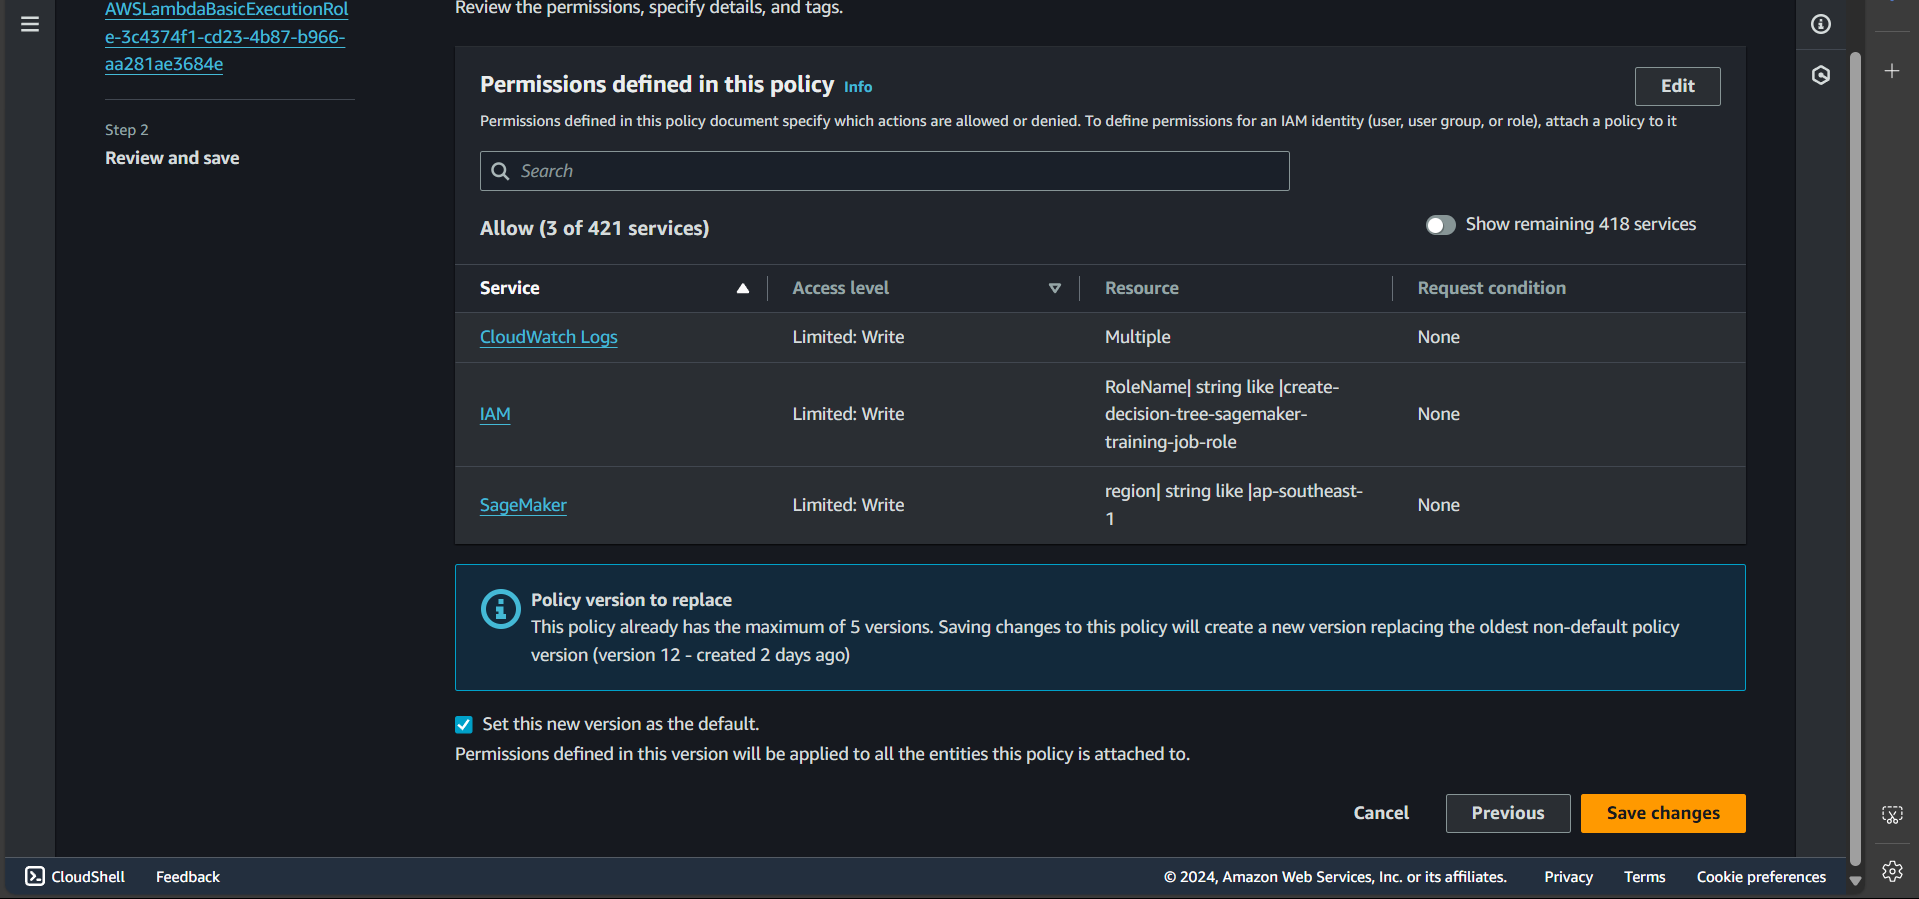
Step 6: Paste the following content into the Policy editor
| |
Explanation: In this Lambda function, we have basic permissions such as writing logs to CloudWatch. Additionally, we need the CreateTrainingJob permission to create a training job and PassRole because we will pass a role into the create_training_job method. This role is the one we previously created to execute the training job.
Step 7: Click Next
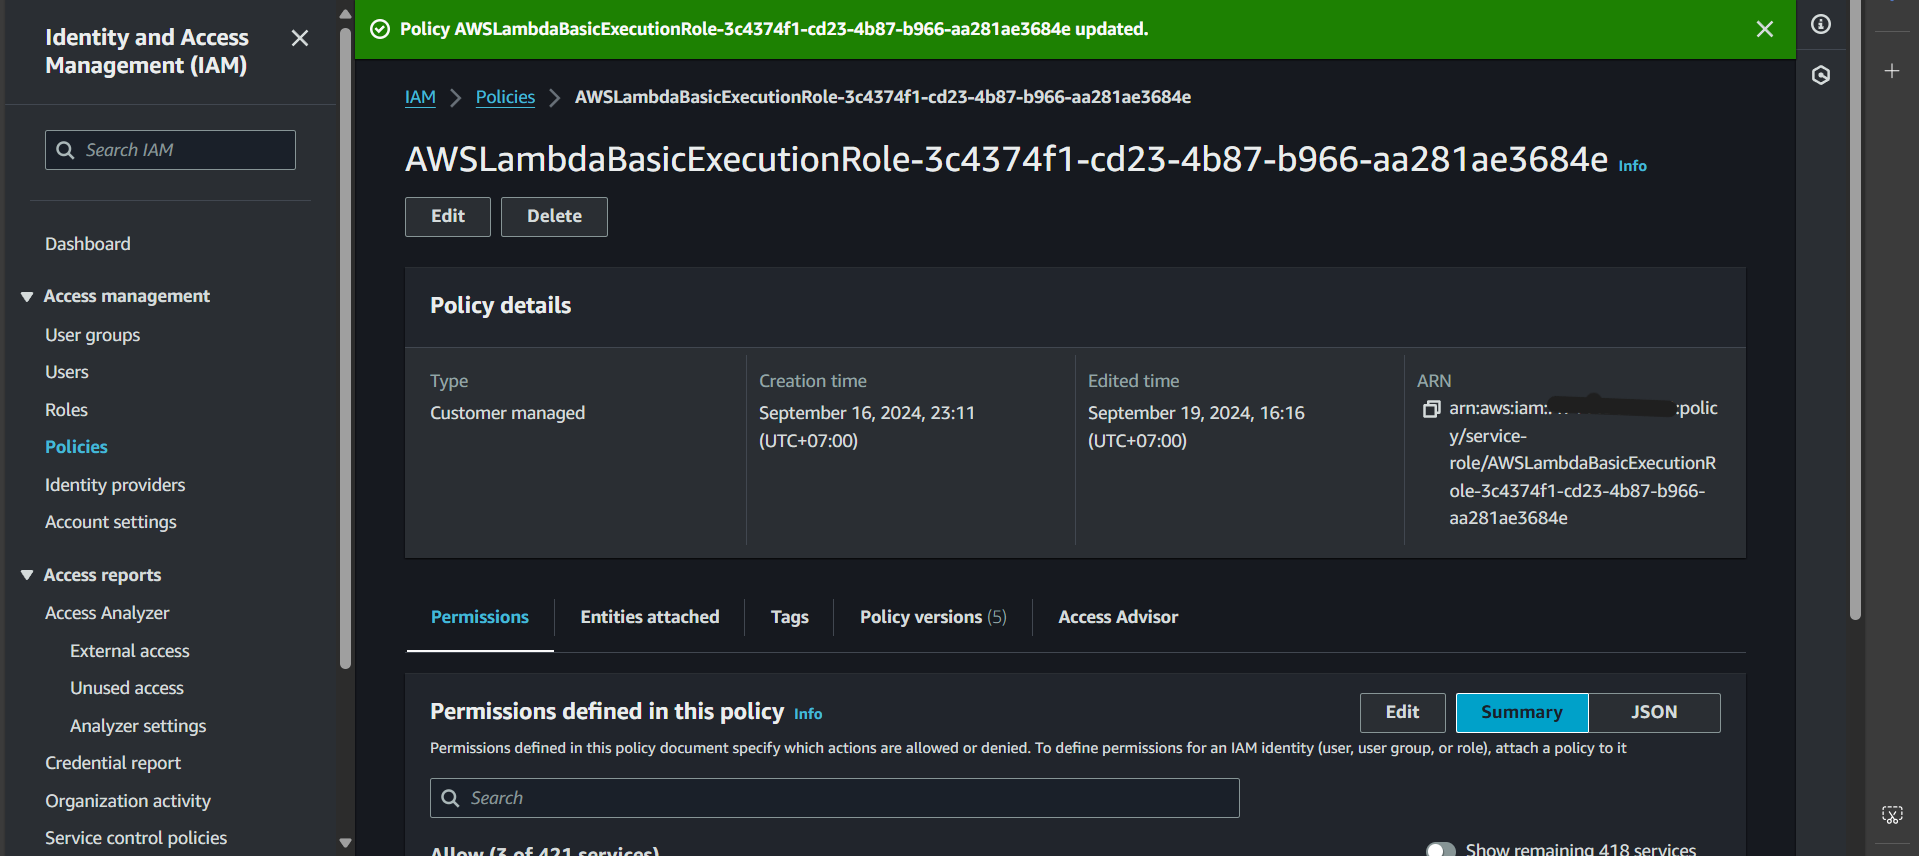
Step 8: Click Save changes
Successfully updated:
Step 9: Go back to the create-training-job-decision-tree-function function interface
Step 10: Switch to the Code tab and paste:
| |
Explanation of the create_training_job function:
TrainingJobName=training_job_name: Sets the name for the training job.
| |
passes image URI, which is the image pushed to ECR.
RoleArn=estimator['role']: Grants permissions for execution.
| |
Pass in two channels and name them dataset and model (these names correspond to the paths in the image: /opt/ml/input/data/dataset and /opt/ml/input/data/model).
For each S3Uri, all files with the specified prefix will be copied and mapped to the corresponding channel in the image.
| |
Defines where the output files after training will be stored (corresponding to /opt/ml/output/data and /opt/ml/model).
Note that they will be compressed into a .tar.gz file format.
| |
Define the configurations of the instance that performs the training process.
Create Lambda Function: Endpoint Creation
In this section, we continue creating a Lambda function for the purpose of creating an endpoint. Similar to section 5.4.1,
- we create a Lambda function named create-decision-tree-endpoint-function
- the policy attached to this function’s role is as follows:
| |
Explanation: To create an endpoint, we first need to create a model and an endpoint-config.
- The code content is as follows:
| |
Create Lambda Function: Invoking Prediction to Endpoint
In this section, we will create a Lambda function with the functionality of sending a request to invoke a prediction at the endpoint.
Similar to the steps for creating a Lambda function:
- We create a Lambda function named test
- However, in the permissions section, we only need a policy in the following format:
| |
- Code:
| |
After that, click Deploy, and Test successfully.
Test
In this section, we will test whether the components we have created are functioning correctly.
Test Training Job Creation
Testing the training job creation function from the Lambda function
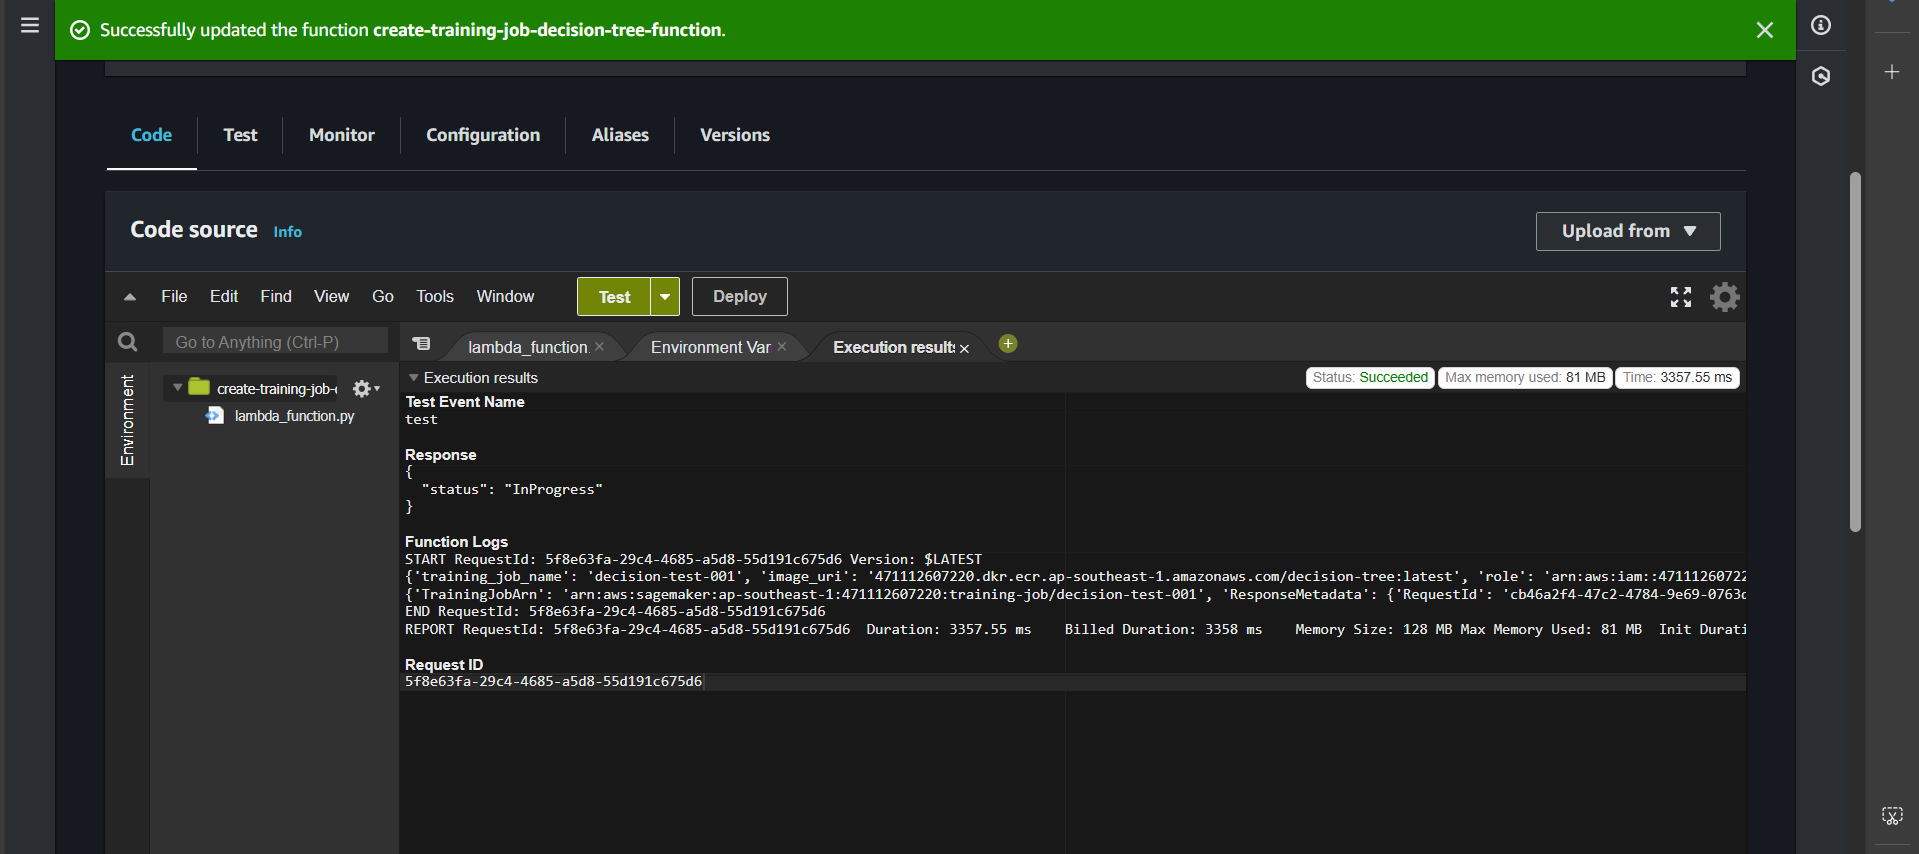
First, navigate to the Lambda function create-training-job-decision-tree-function.
Click Deploy, create a Test, then click Test. If successful, you will see:
Check the process by searching for the Amazon SageMaker service.

In the Training section, select Training jobs.
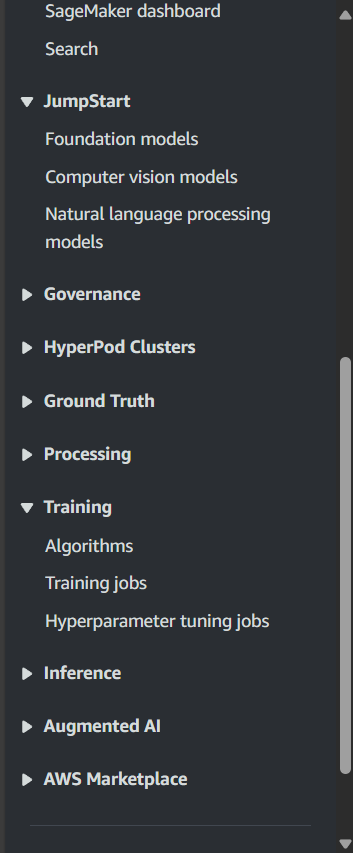
You will see decision-tree-000 in the InProcess state, meaning the training is in progress. Wait for it to transition to Completed.

Click on decision-tree-000, and you will see:
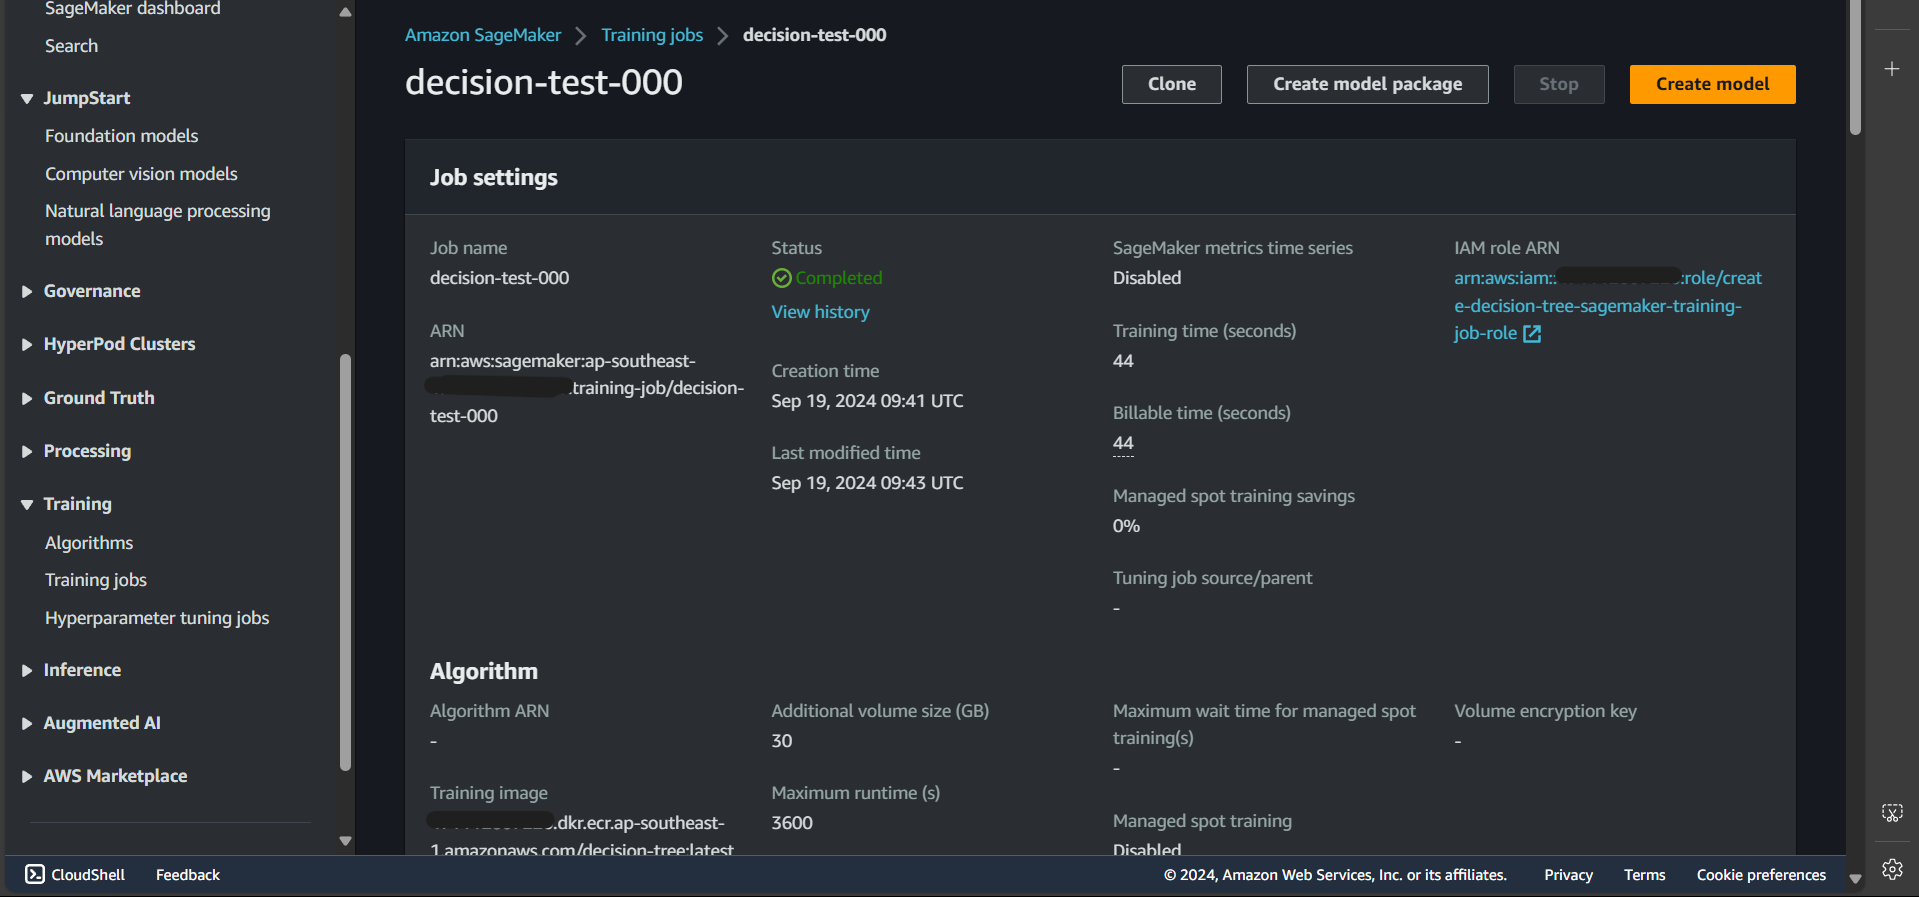
That means the process was successful!
Now, let’s check the output
Open S3, go to the bucket customized-sagemaker-image-decision-tree-bucket, and navigate to the output folder.
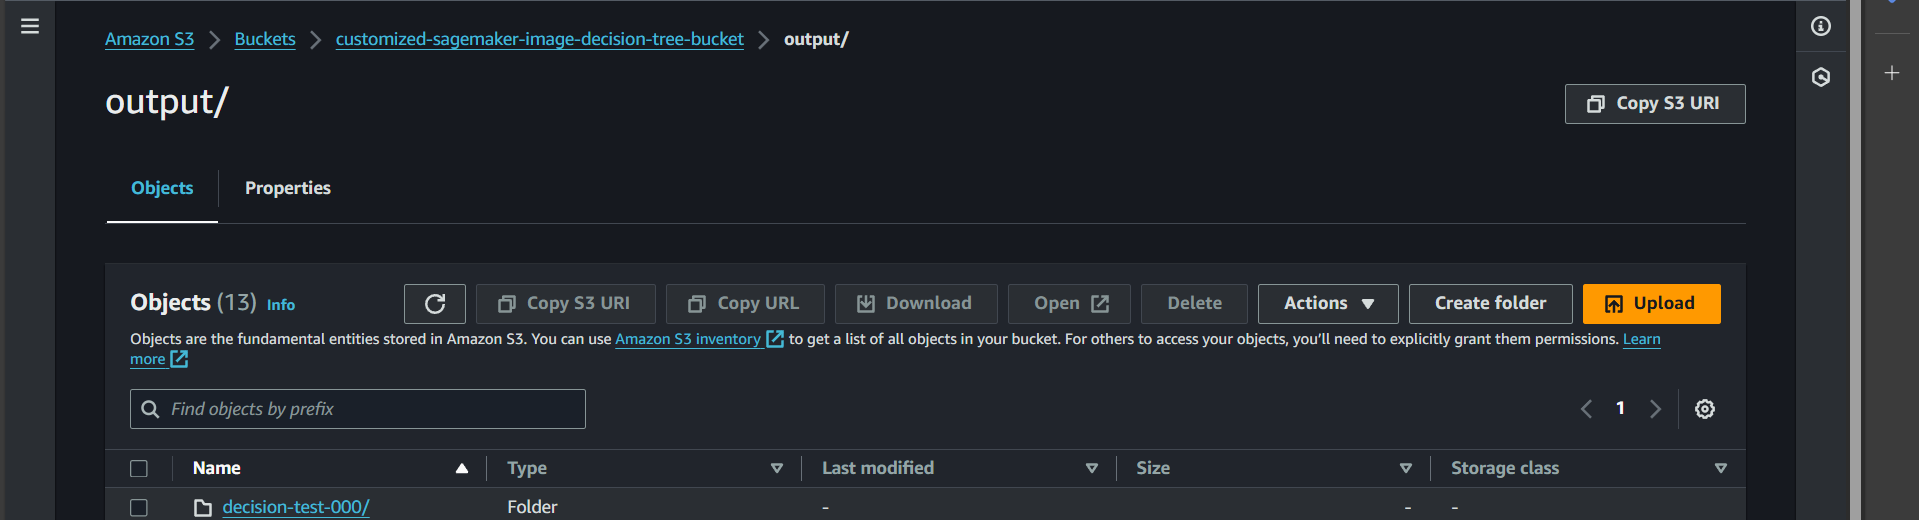
You will see the output for decision-tree-000 was successfully created.
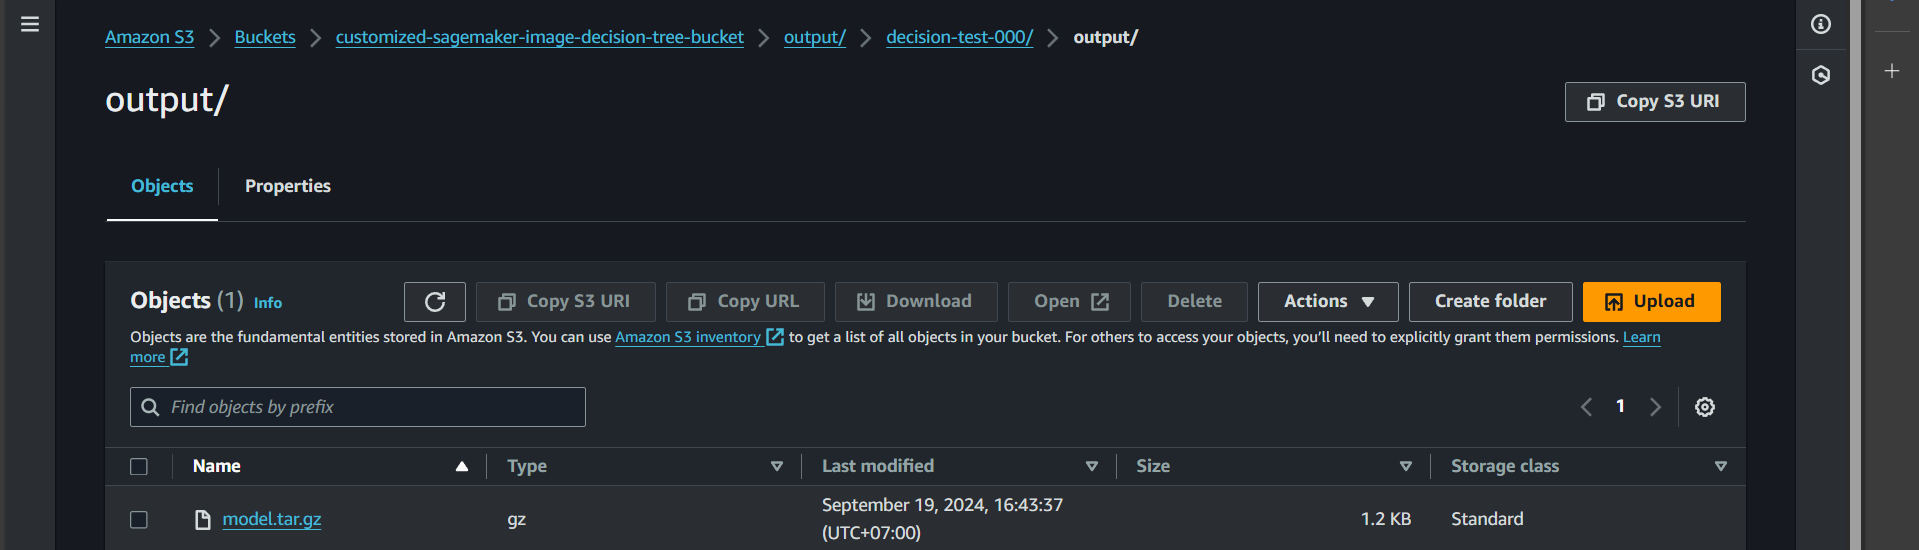
Click inside, and you will find the model.tar.gz file (which contains the trained model as defined in our code).
Test Endpoint Creation
First, navigate to the Lambda function named create-decision-tree-endpoint-function.
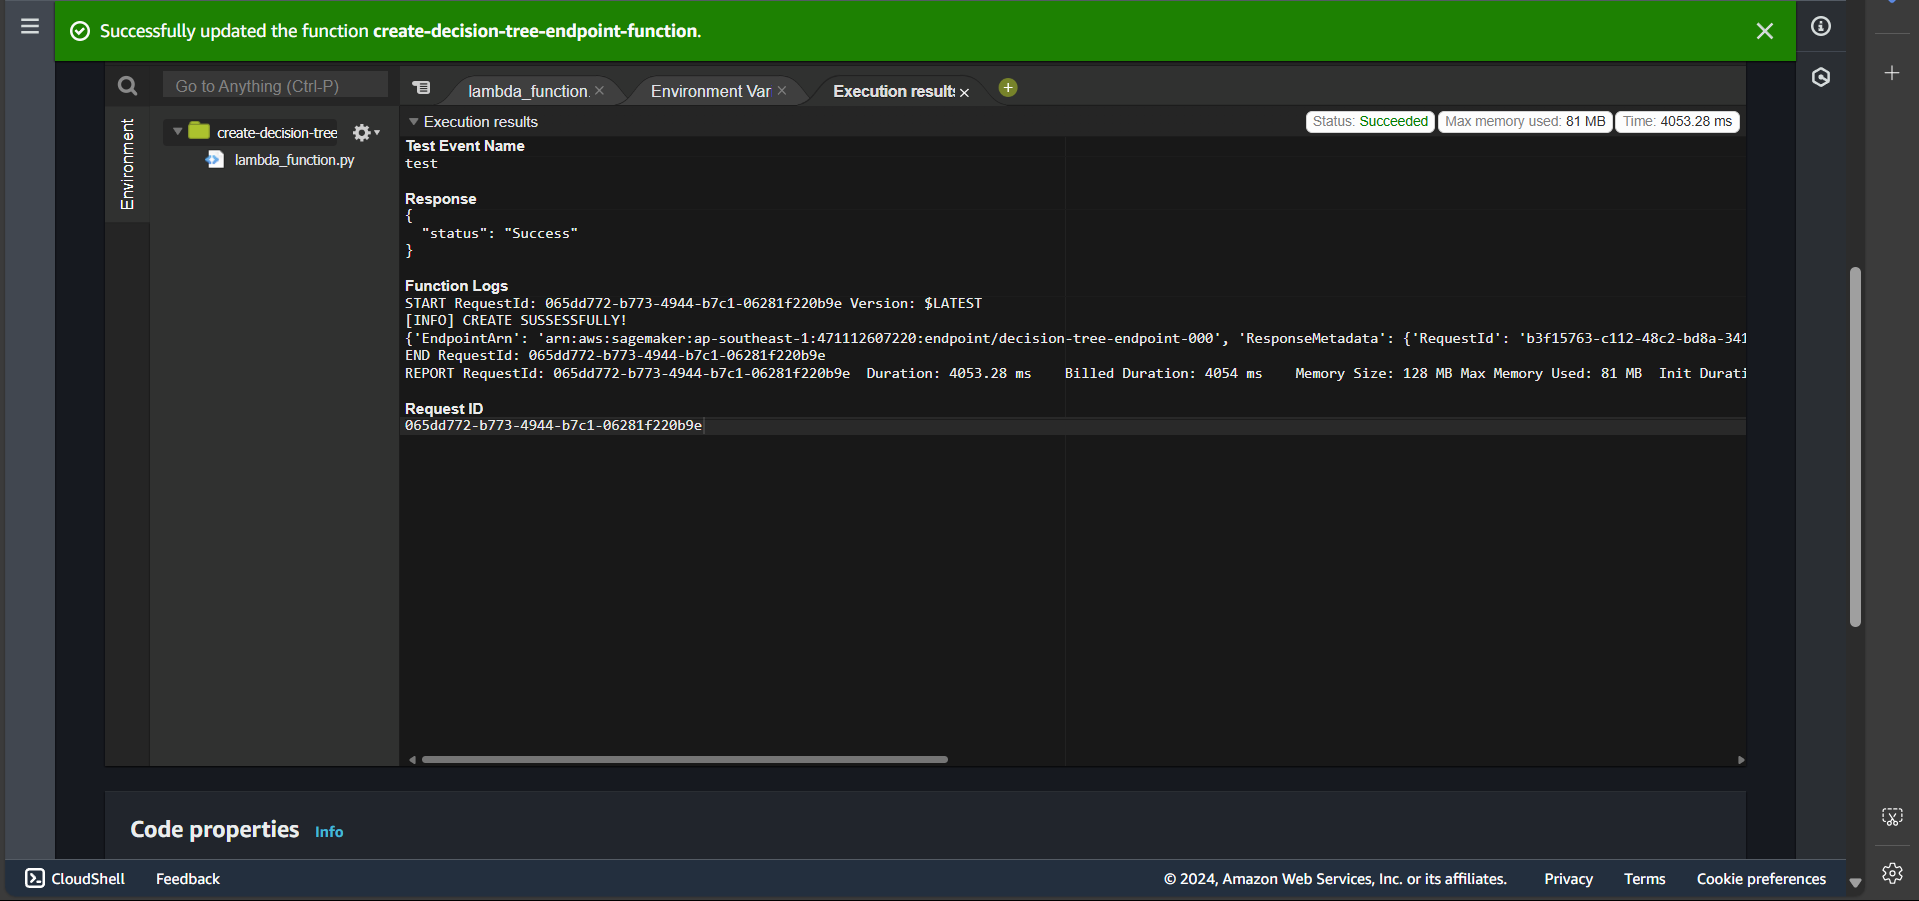
In the Code section, click Deploy, create a test event, and then click Test.
If the endpoint creation is successful, you will see:
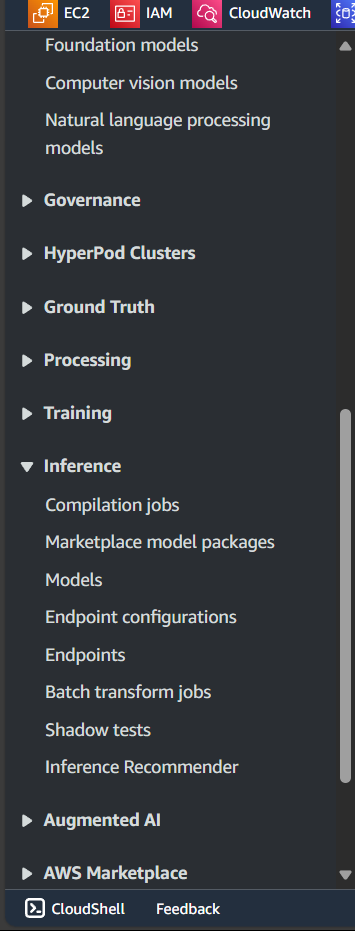
Now, go to the Amazon SageMaker service and search for Inference → Endpoints:
View the list of endpoints:

Click on the endpoint, and you will see that it is in the Creating state.
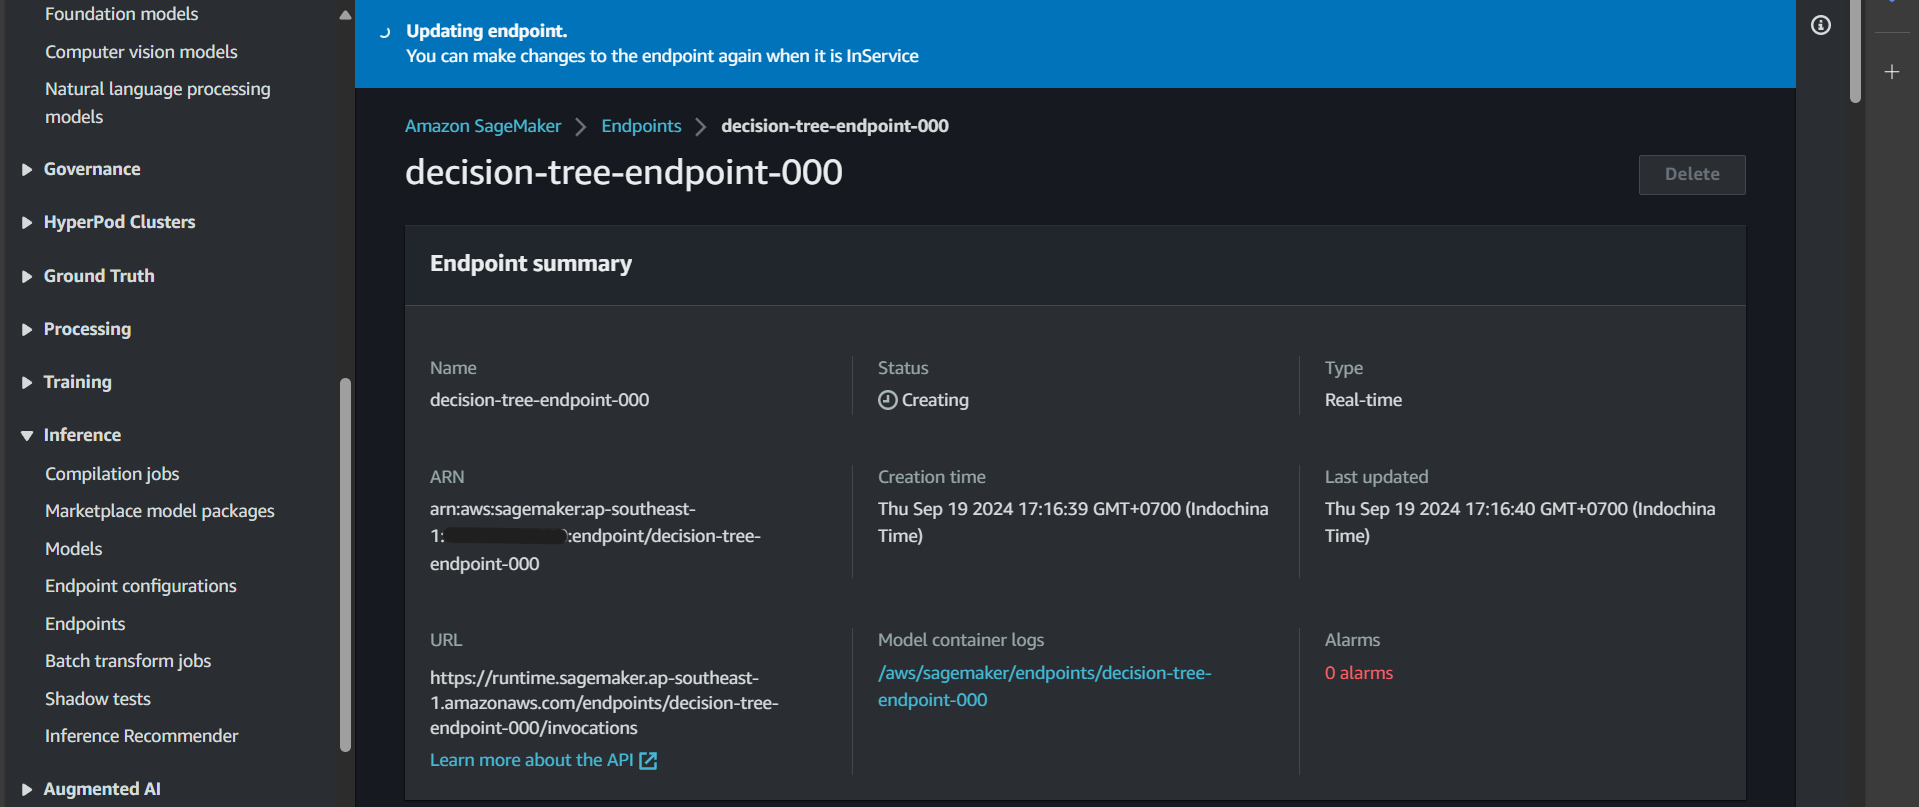
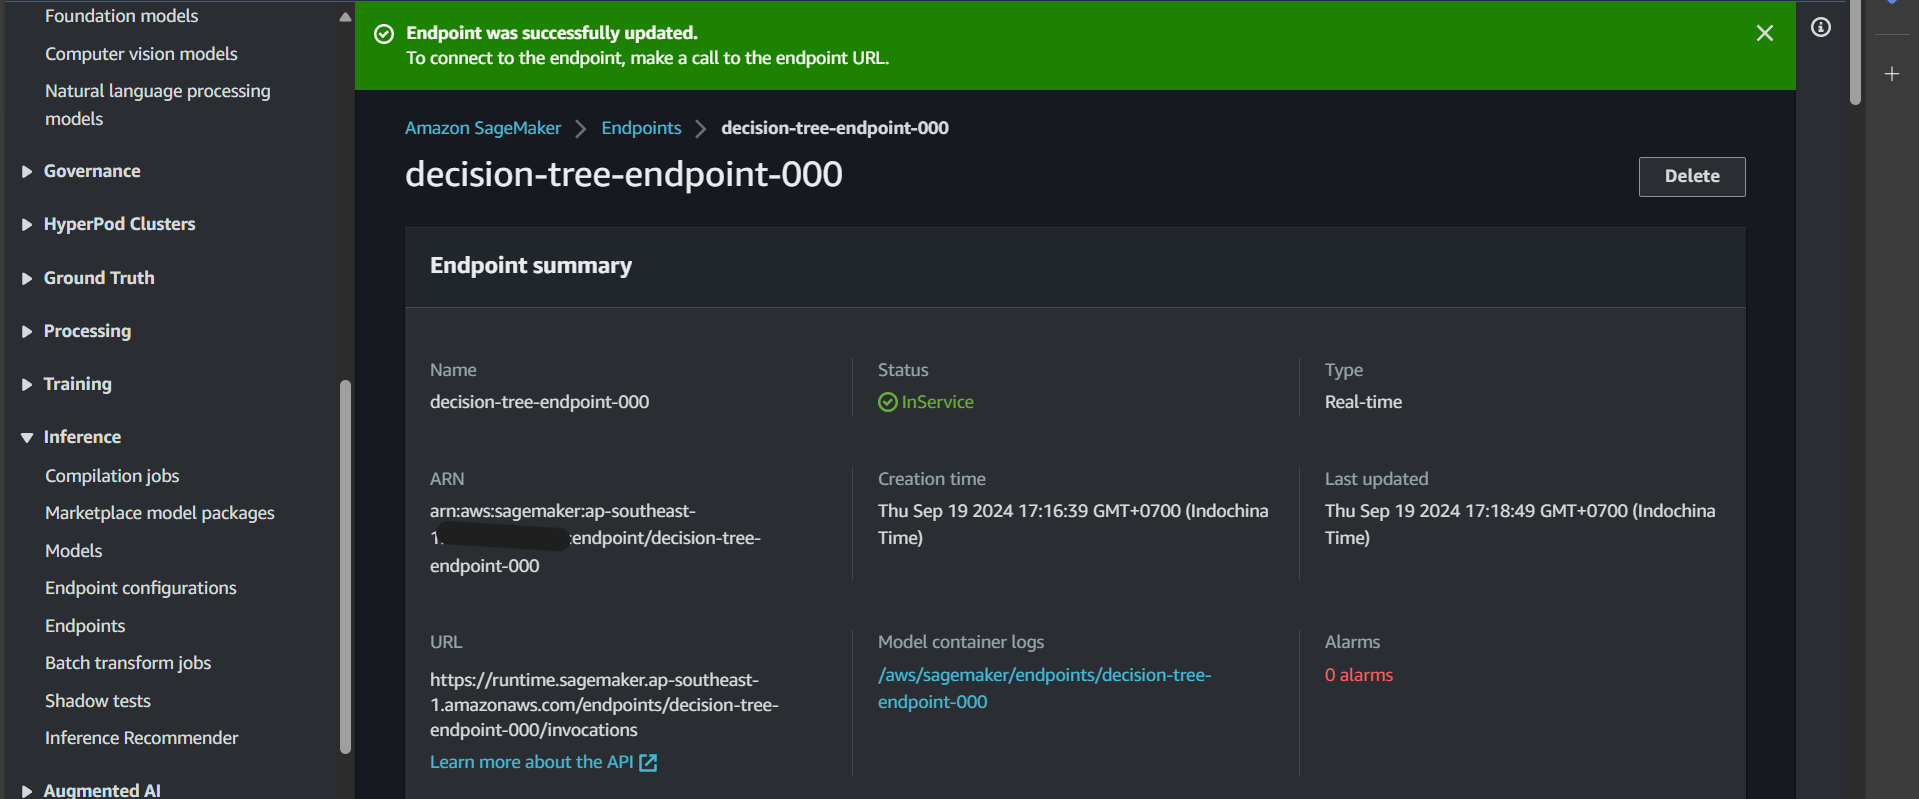
After a while, the endpoint status will change to InService, indicating success. Now, we can proceed to test the function that invokes predictions on this endpoint.
Test Invoke Prediction Function
After creating the endpoint, in this section, we will test the function that invokes predictions on that endpoint.
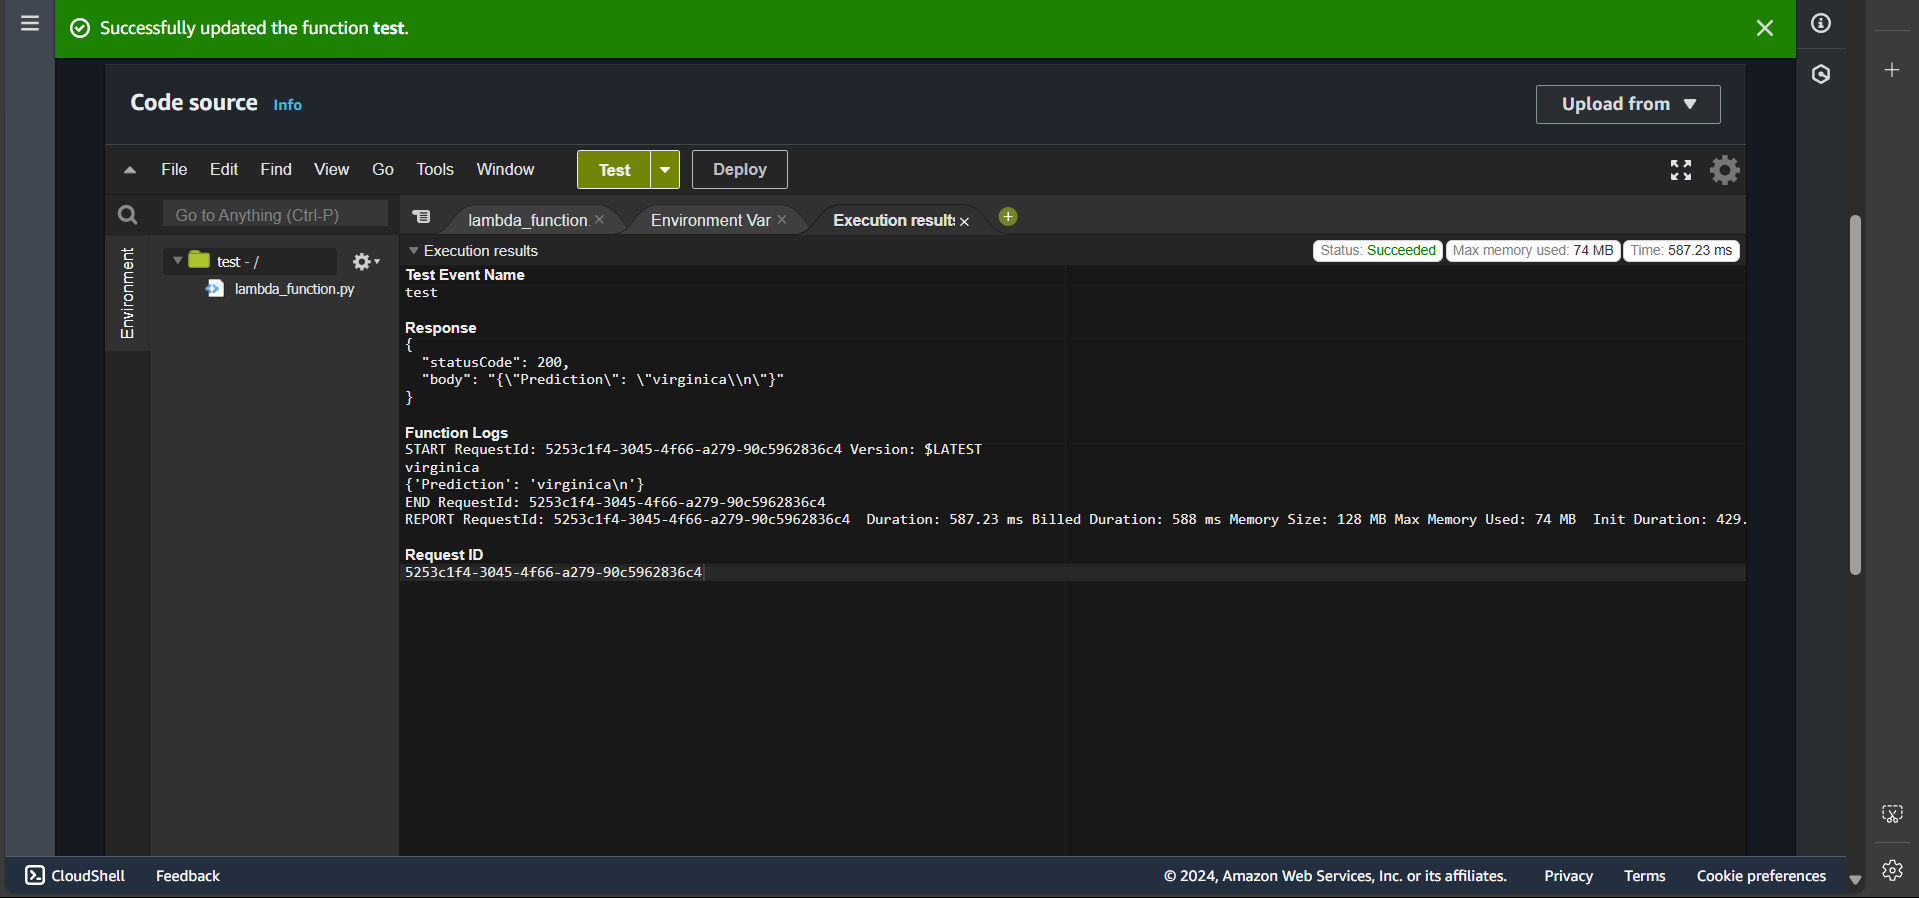
First, navigate to the Lambda function named test, click Deploy, create a test event, and then click Test. If successful, you will see:
Bonus
By this point, we have successfully created an image for training and prediction. However, there is a challenge: if we want to modify the code in the train file, we would need to rebuild the image and push it to ECR. This process is extremely time-consuming, especially in real-world scenarios where images and models can be quite large.
To address this, we can implement a few modifications to separate the image from the execution file (specifically, the train file).
You might recall that in requirements.txt, we included awscli. The purpose of installing awscli is to allow interaction with S3 resources that store the train file or similar resources.
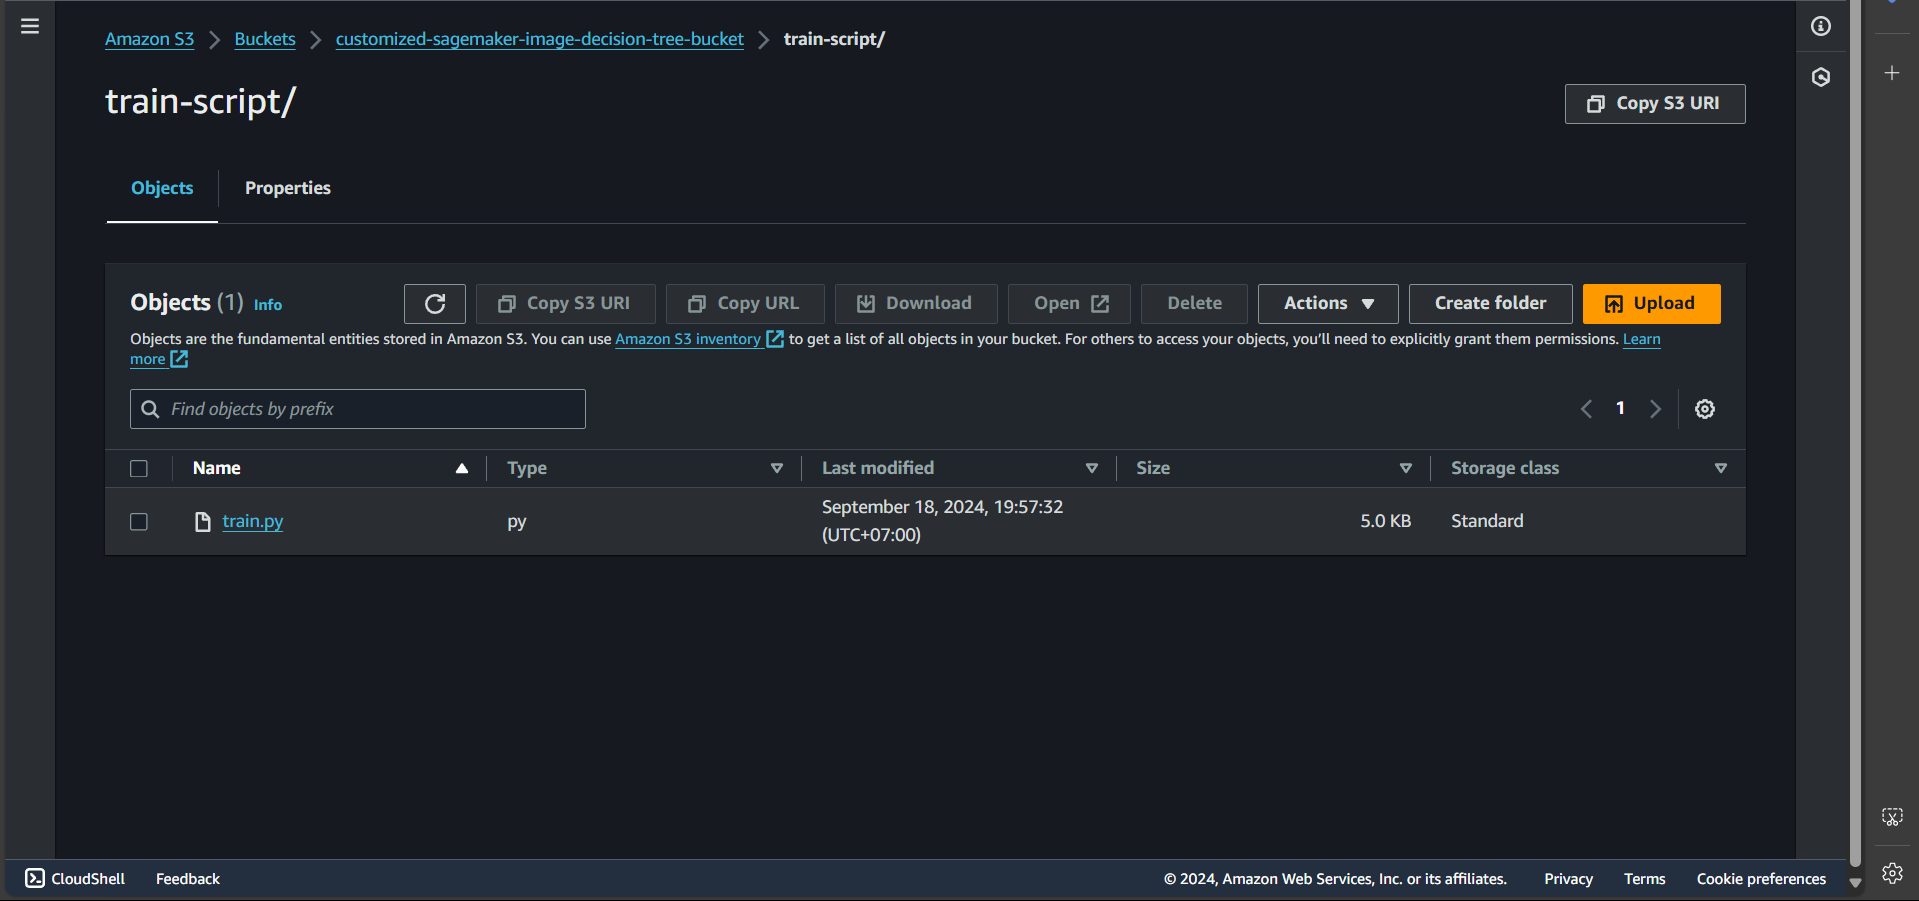
Thus, we can create a file named train.py with the same content as the original train file, except for removing the first line #!/usr/bin/env python. This file is then uploaded to the customized-sagemaker-image-decision-tree-bucket, inside the train-script/ folder.
Next, we update the Code in the Lambda function create-training-job-decision-tree-function, specifically in the create_training_job section.
| |
Thus, when the training job starts, the command will override the train execution, and train.py will be executed instead.
Clear Resources
After completing the lab, we will delete the resources.
S3
Go to S3, find the bucket named customized-sagemaker-image-decision-tree-bucket, and click Delete.
ECR
Go to ECR, find the repository named decision-tree, and click Delete.
SageMaker
Go to SageMaker, navigate to Inference → Endpoints. If any endpoint is in the InService state, select it, click Action, then Delete.
The remaining resources, such as Lambda functions, IAM roles, and policies, do not incur charges, so we can keep them for reference.